
Interiors Living Space Ideas Uncategorized
Foyer Fun
Let your “House Style” begin with your Foyer
I don’t do houses that look alike. NOPE. My house doesn’t look anything like even one of my clients’ houses and none of them look like each other. In fact I have a very strict no repeat policy for most of our design pieces (I’ll never reuse a piece of art, rug or other strong design element) because I believe a house should mirror the unique personality of its owner. The feeling and style of a home should convey clearly and comfortably to friends and family, because its YOU! All YOU! In every way YOU! Your ease, your spunk, your whimsy, your personality. What better room to start with than the foyer? Let’s make your space tell your story the second they walk through the front door!
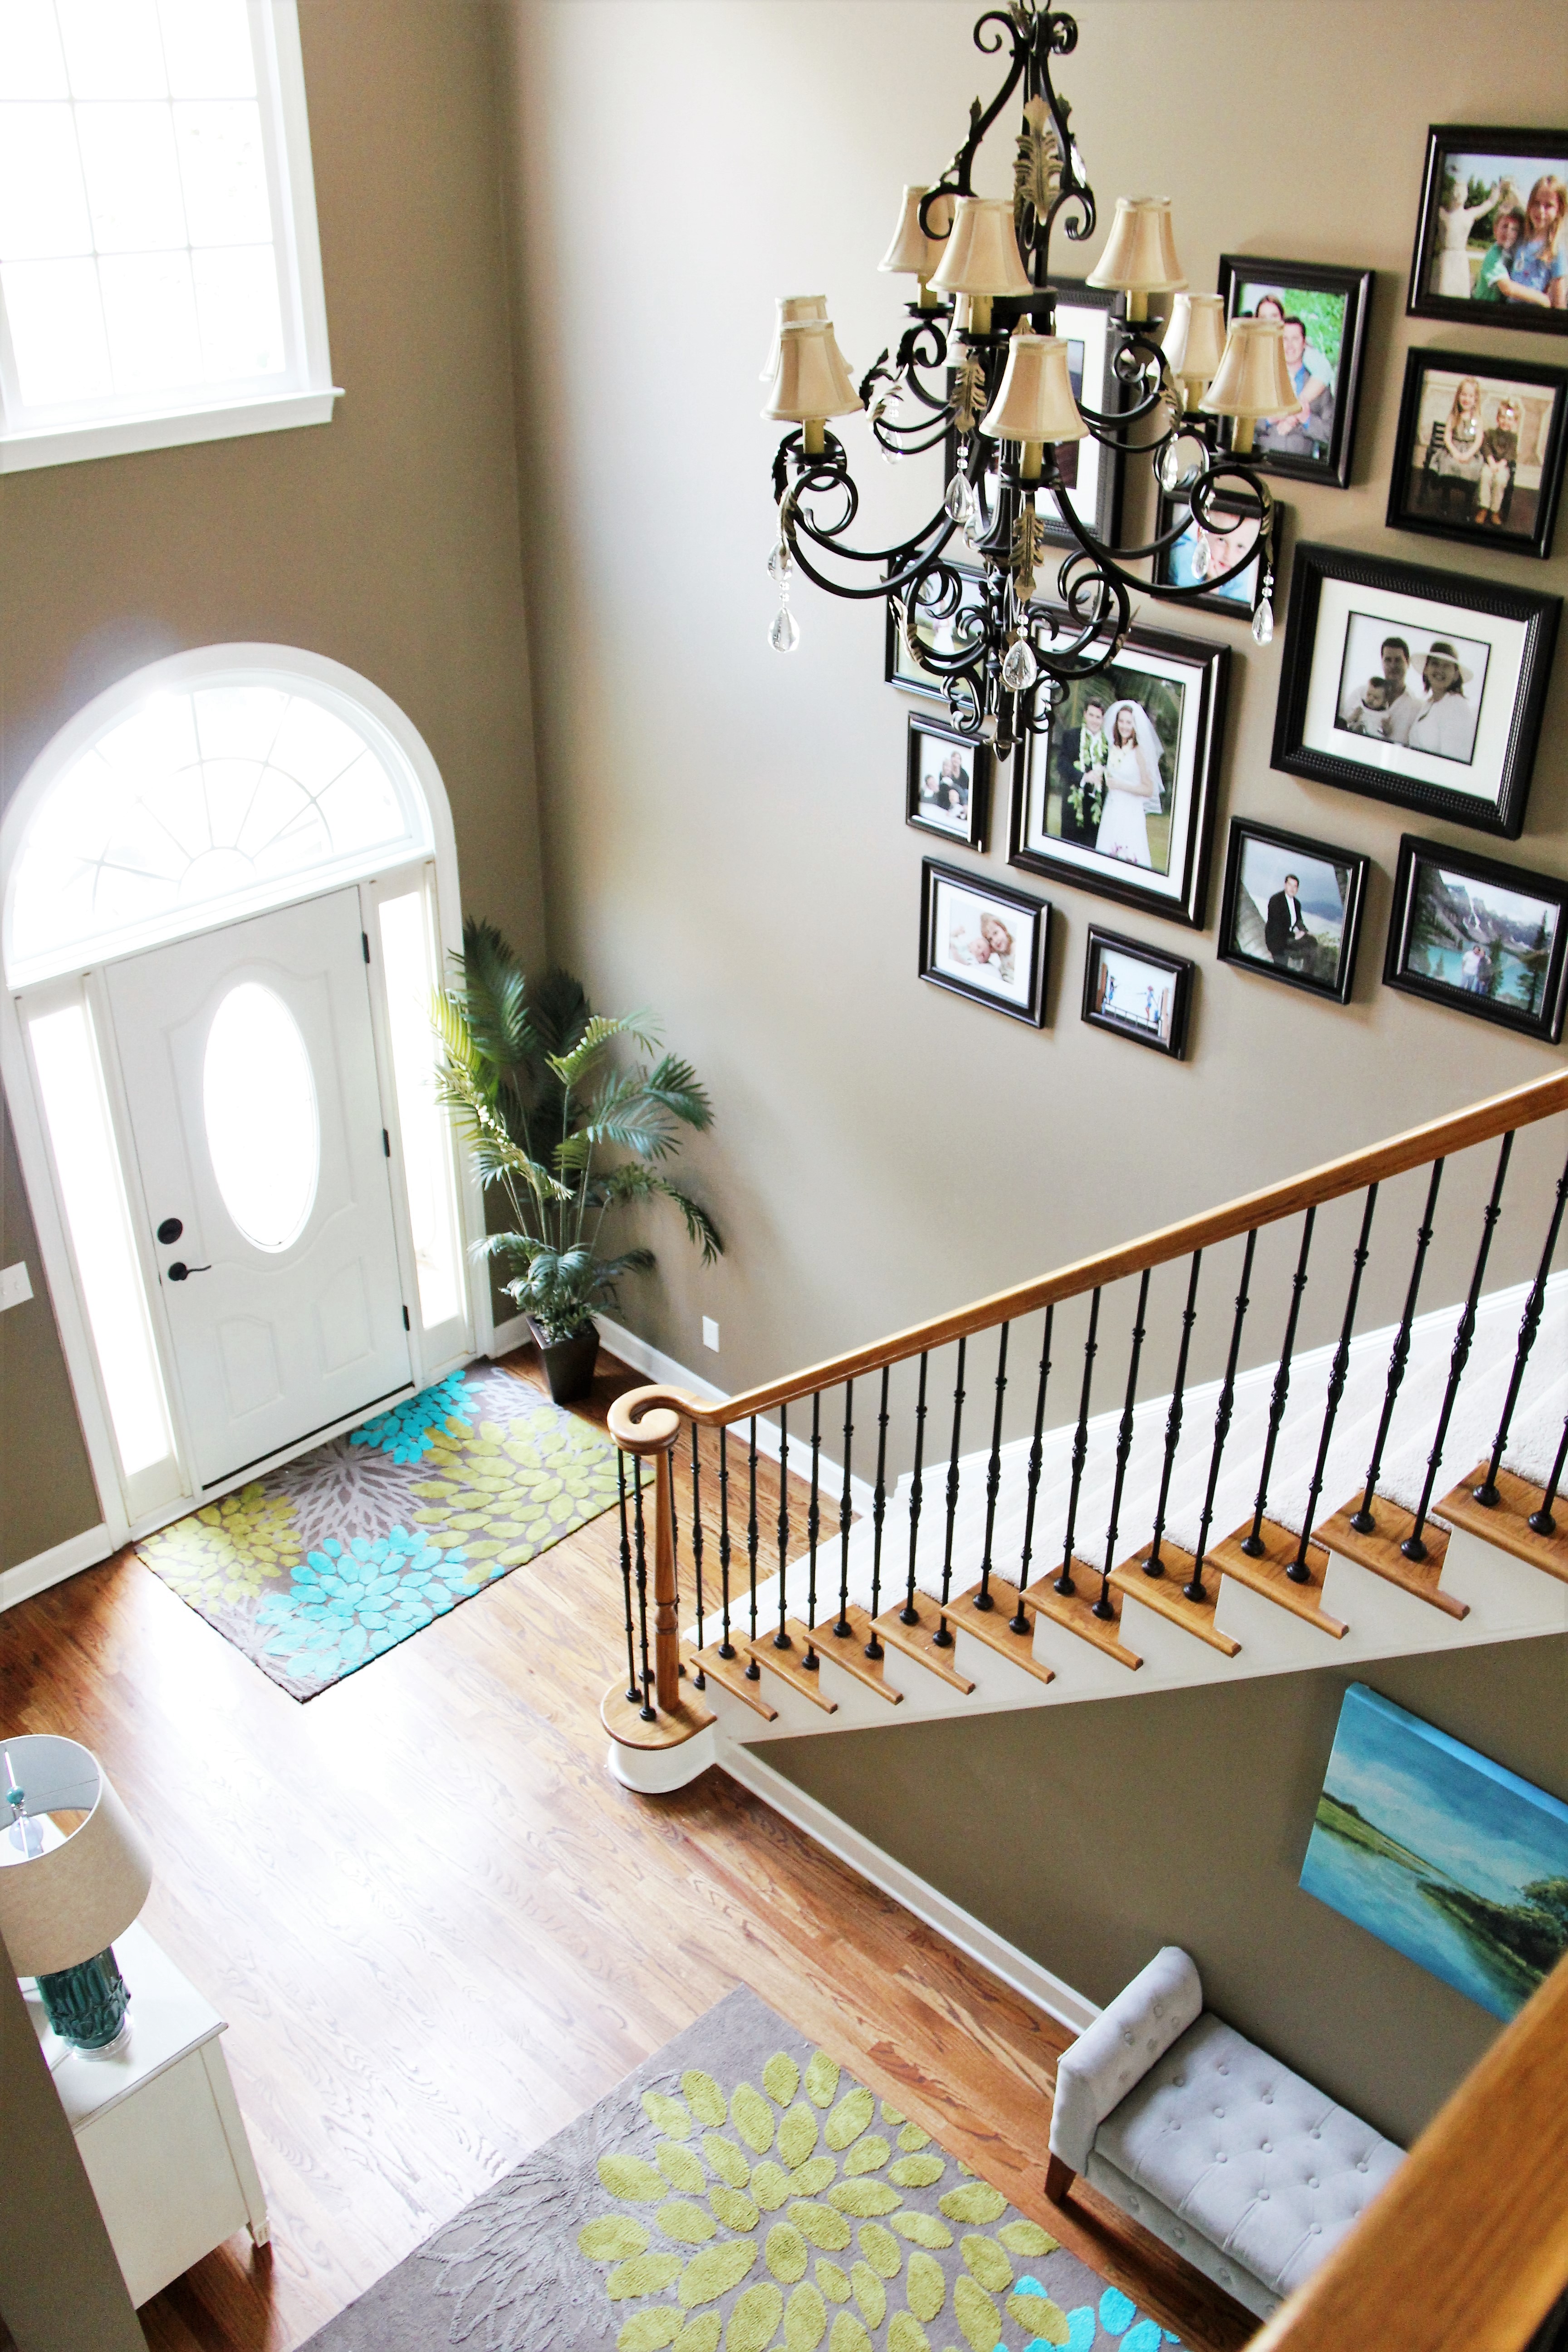
This house had walls a deep coffee color, large chandelier and open space that leads into the great room. Kind of heavy and the clients wanted to add in a fun, lively energy and lighten up the space without the expense of painting the walls.
BEFORE PICS…
-
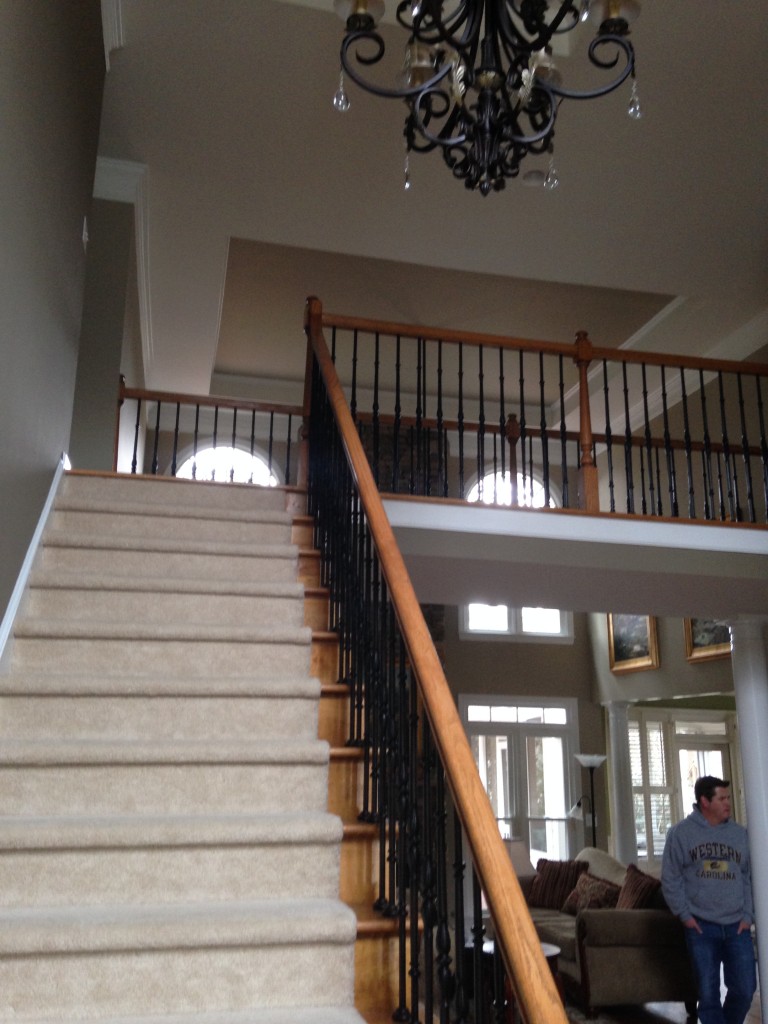
- Stairwell is bare!
-
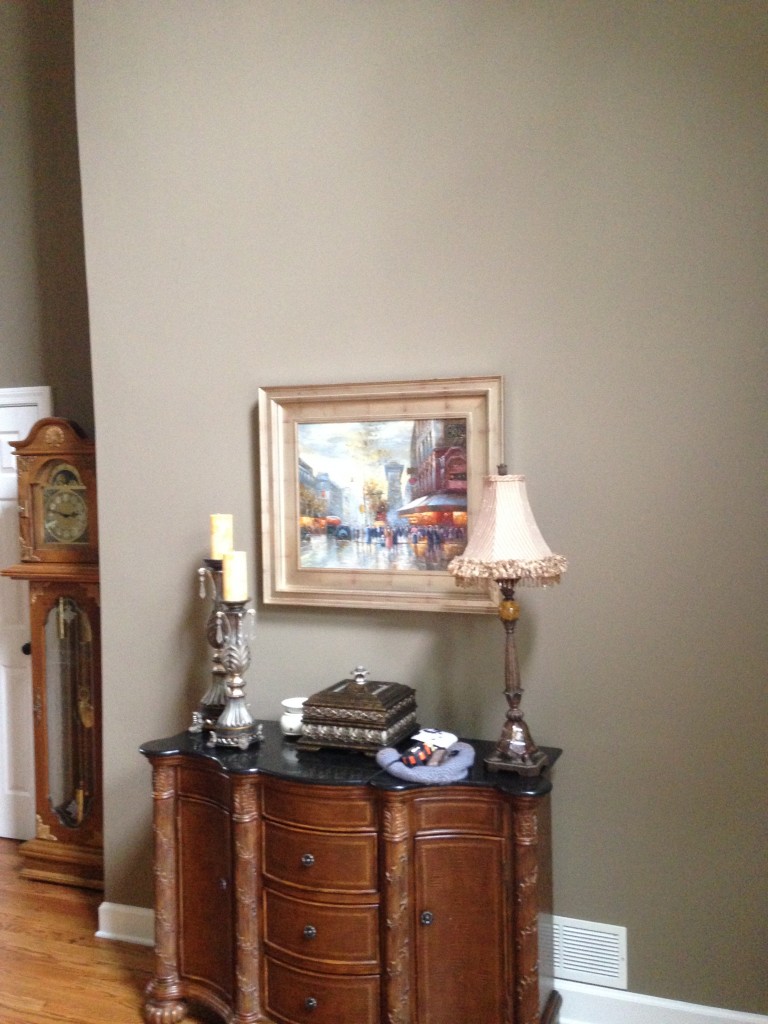
- Too traditional, dark, & small
-
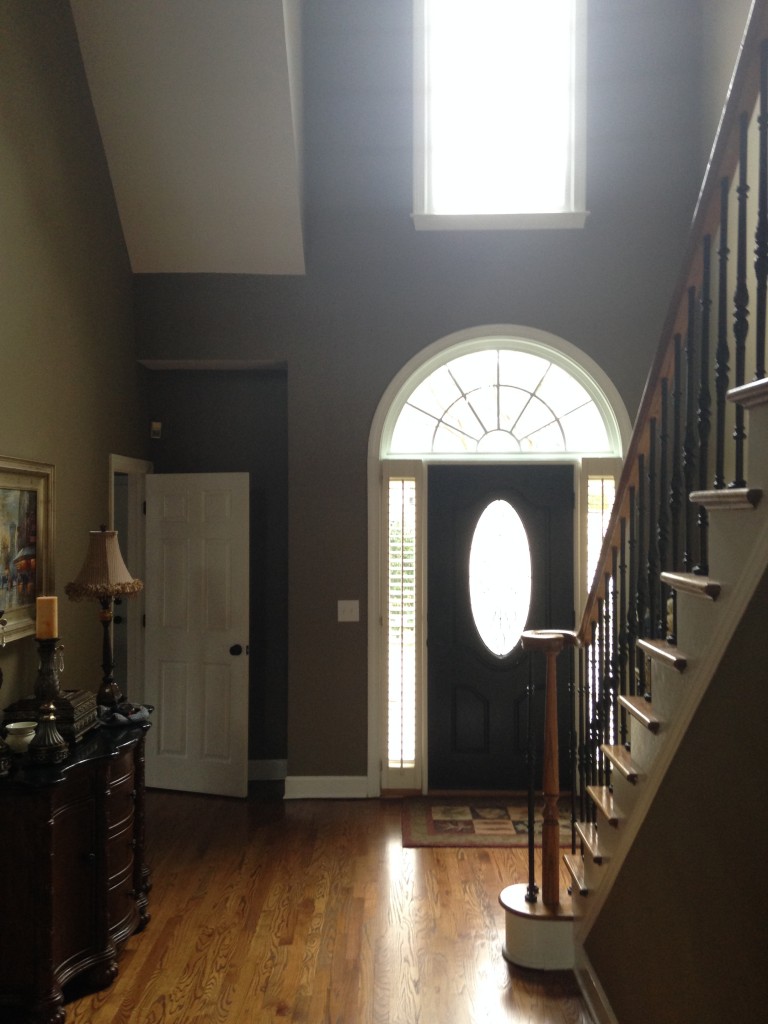
- Need LIGHT & PERSONALITY!
TASK LIST:
- 4×6 rug at door
- remove urn to garden
- consign current foyer chest
- new long cabinet
- large mirror above cabinet
- large lamp on cabinet
- floral arrangement
- plant in corner
- bench on wall under stairs
- keep grandfather clock (client’s dad made it)
- family pictures going up stairs
- art piece over bench
- 5×8 rug that matches front door by clock & bench
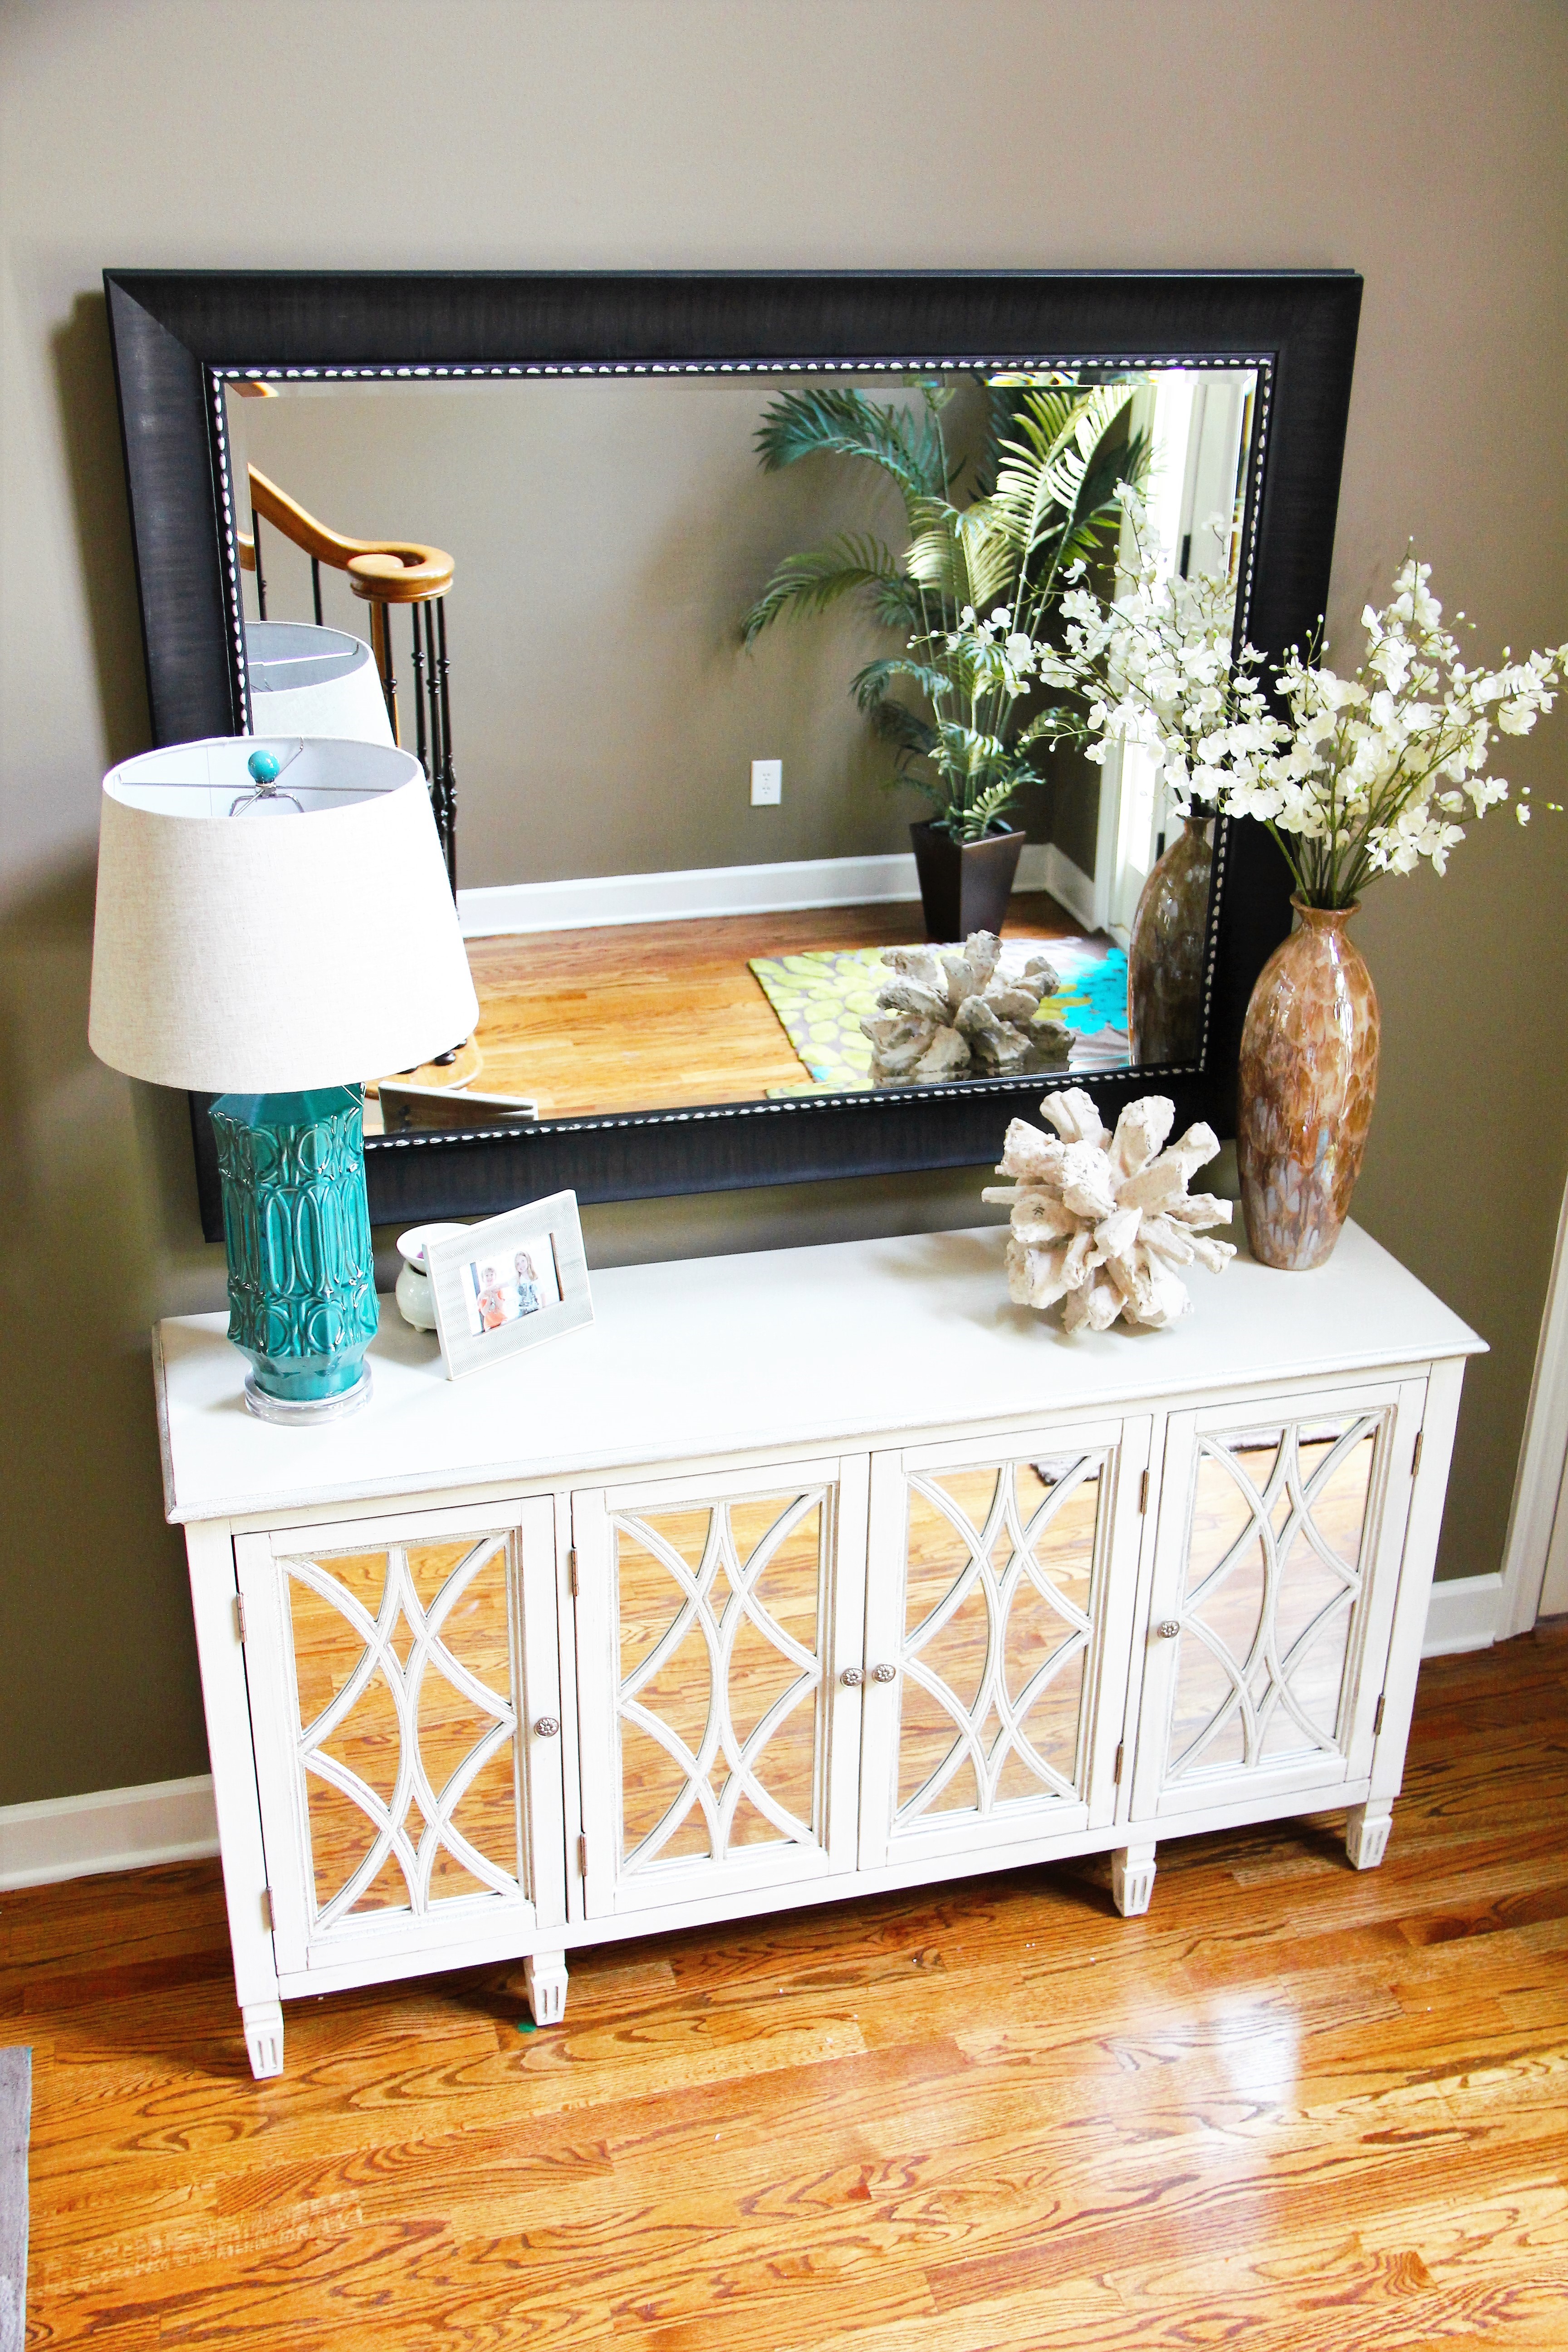
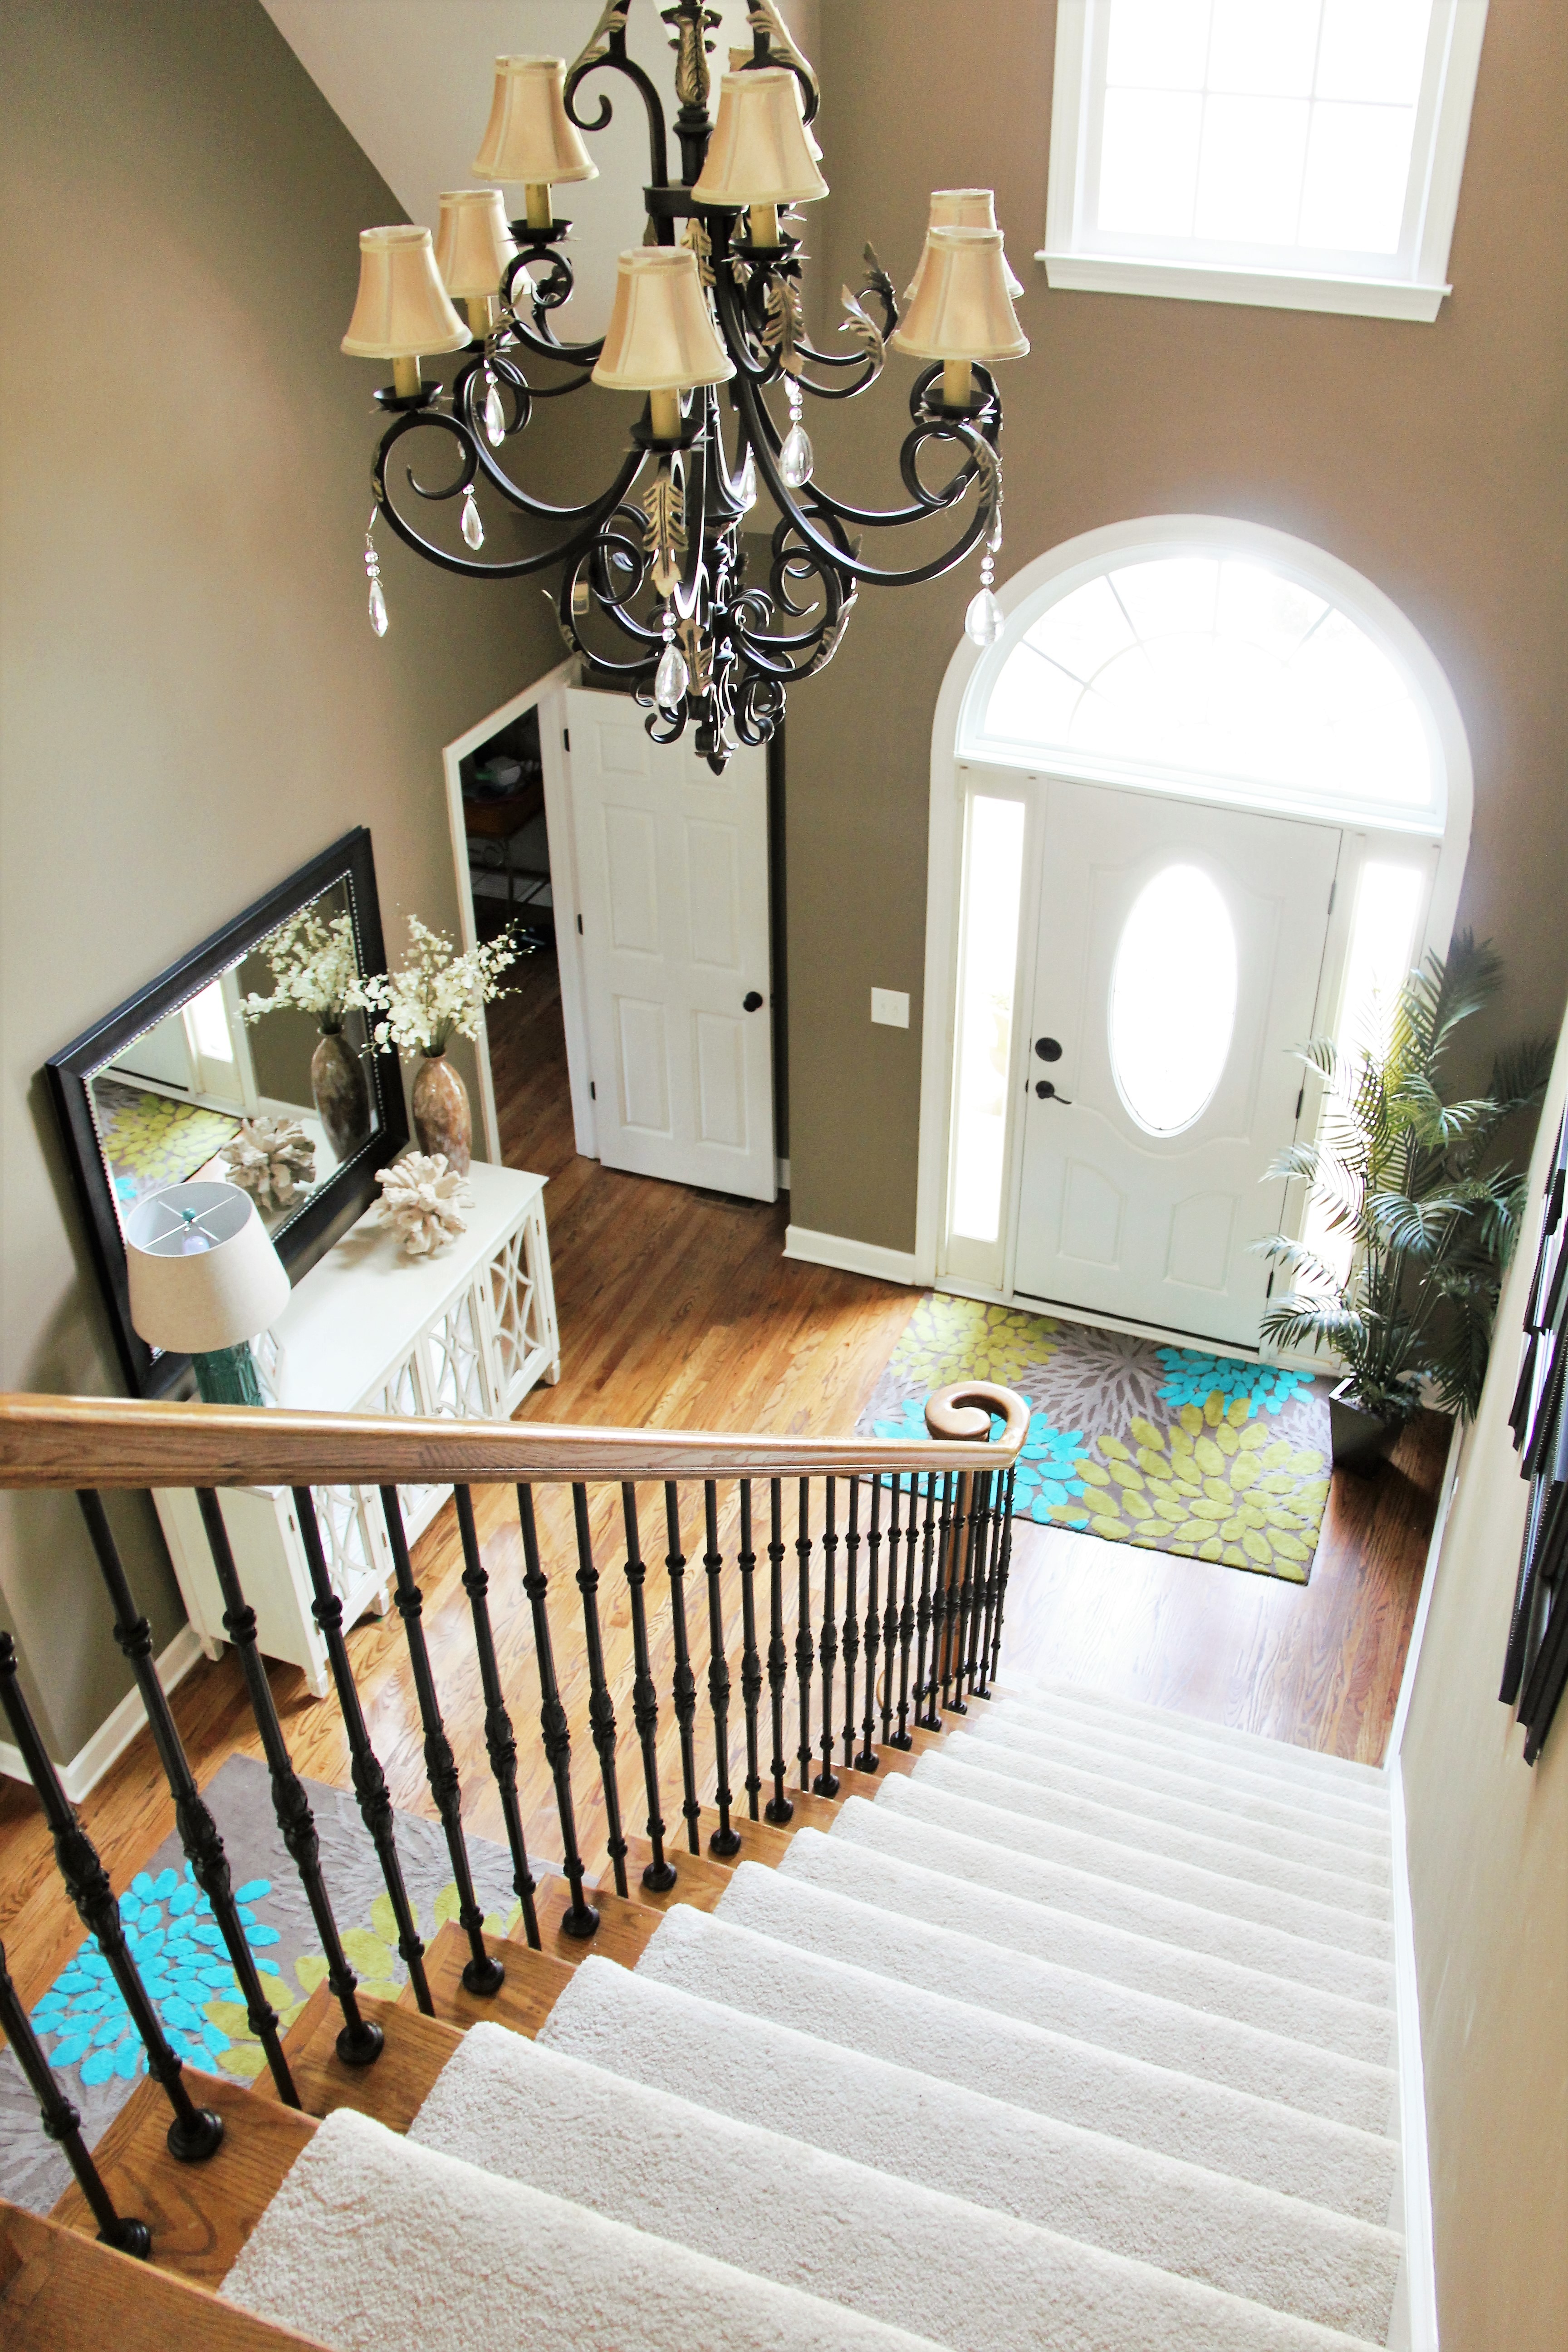
Reflect light with a mirrored foyer cabinet and oversized mirror
The biggest way to increase the light in here is a large oversized mirror to reflect the light coming through the door paired with a light piece of furniture. At Home (formerly Garden Ridge) is our go-to source for oversized mirrors at a discount. The downside to big stores like this is the inventory isn’t stored the best and is often damaged. My team combs through the mirrors like CSI agents only comes back with options that are in perfect condition. No chips, No dings. We painted on little highlights to this mirror that was only $99 and BIG. Good deals take some attention to detail.
The cabinet below adds style and storage! Plus the doors are mirrored so all that crappola that our crazy lives gather doesn’t have to be seen. And the mirrored doors also reflect light. The old cabinet was too ornate and too small. This one is classically modern and long enough to fill the space. I add a bold teal ceramic lamp (Homegoods) and a few stems of silk flowers in a sandy colored vase. The corner needed a plant and this family has 2 cats so whatever we put here had to be artificial. A potted palm filled the corner, brought the outside in and added a natural element to so much wood.
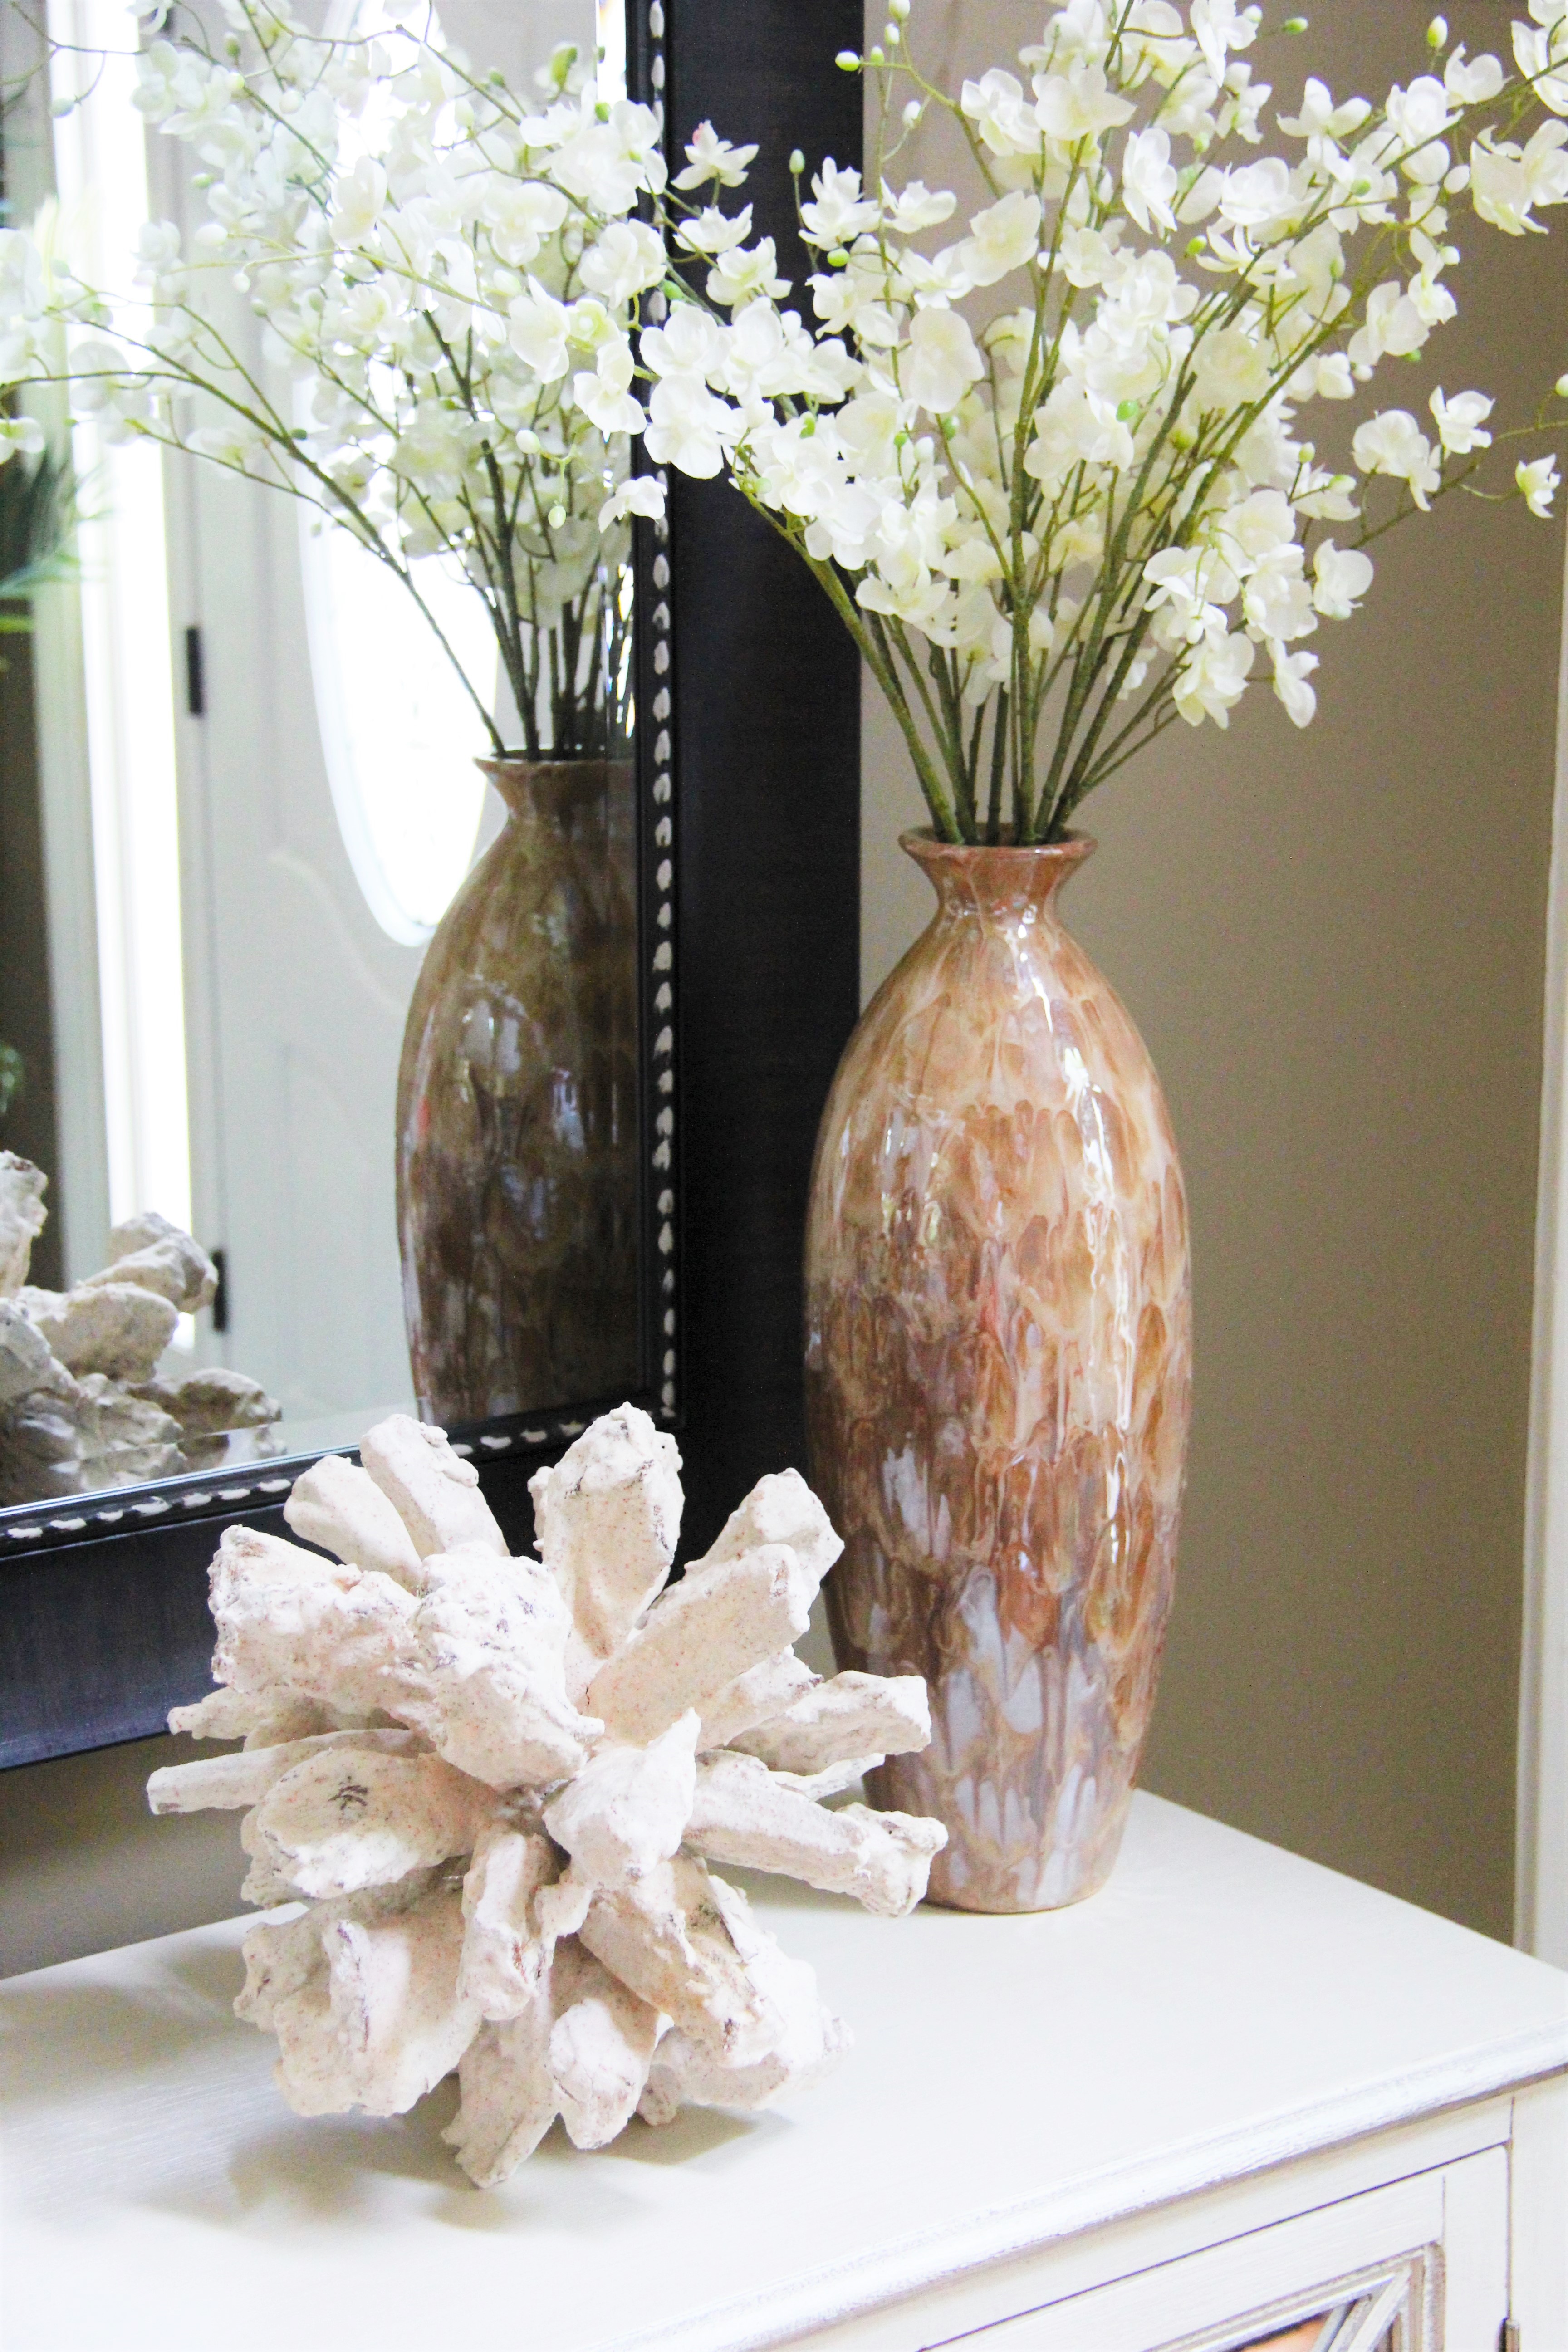
The coral is my favorite piece, a great find from Homegoods (aka my second home). Our color pallet took on a slightly beachy hue, so this adds a touch of fun.
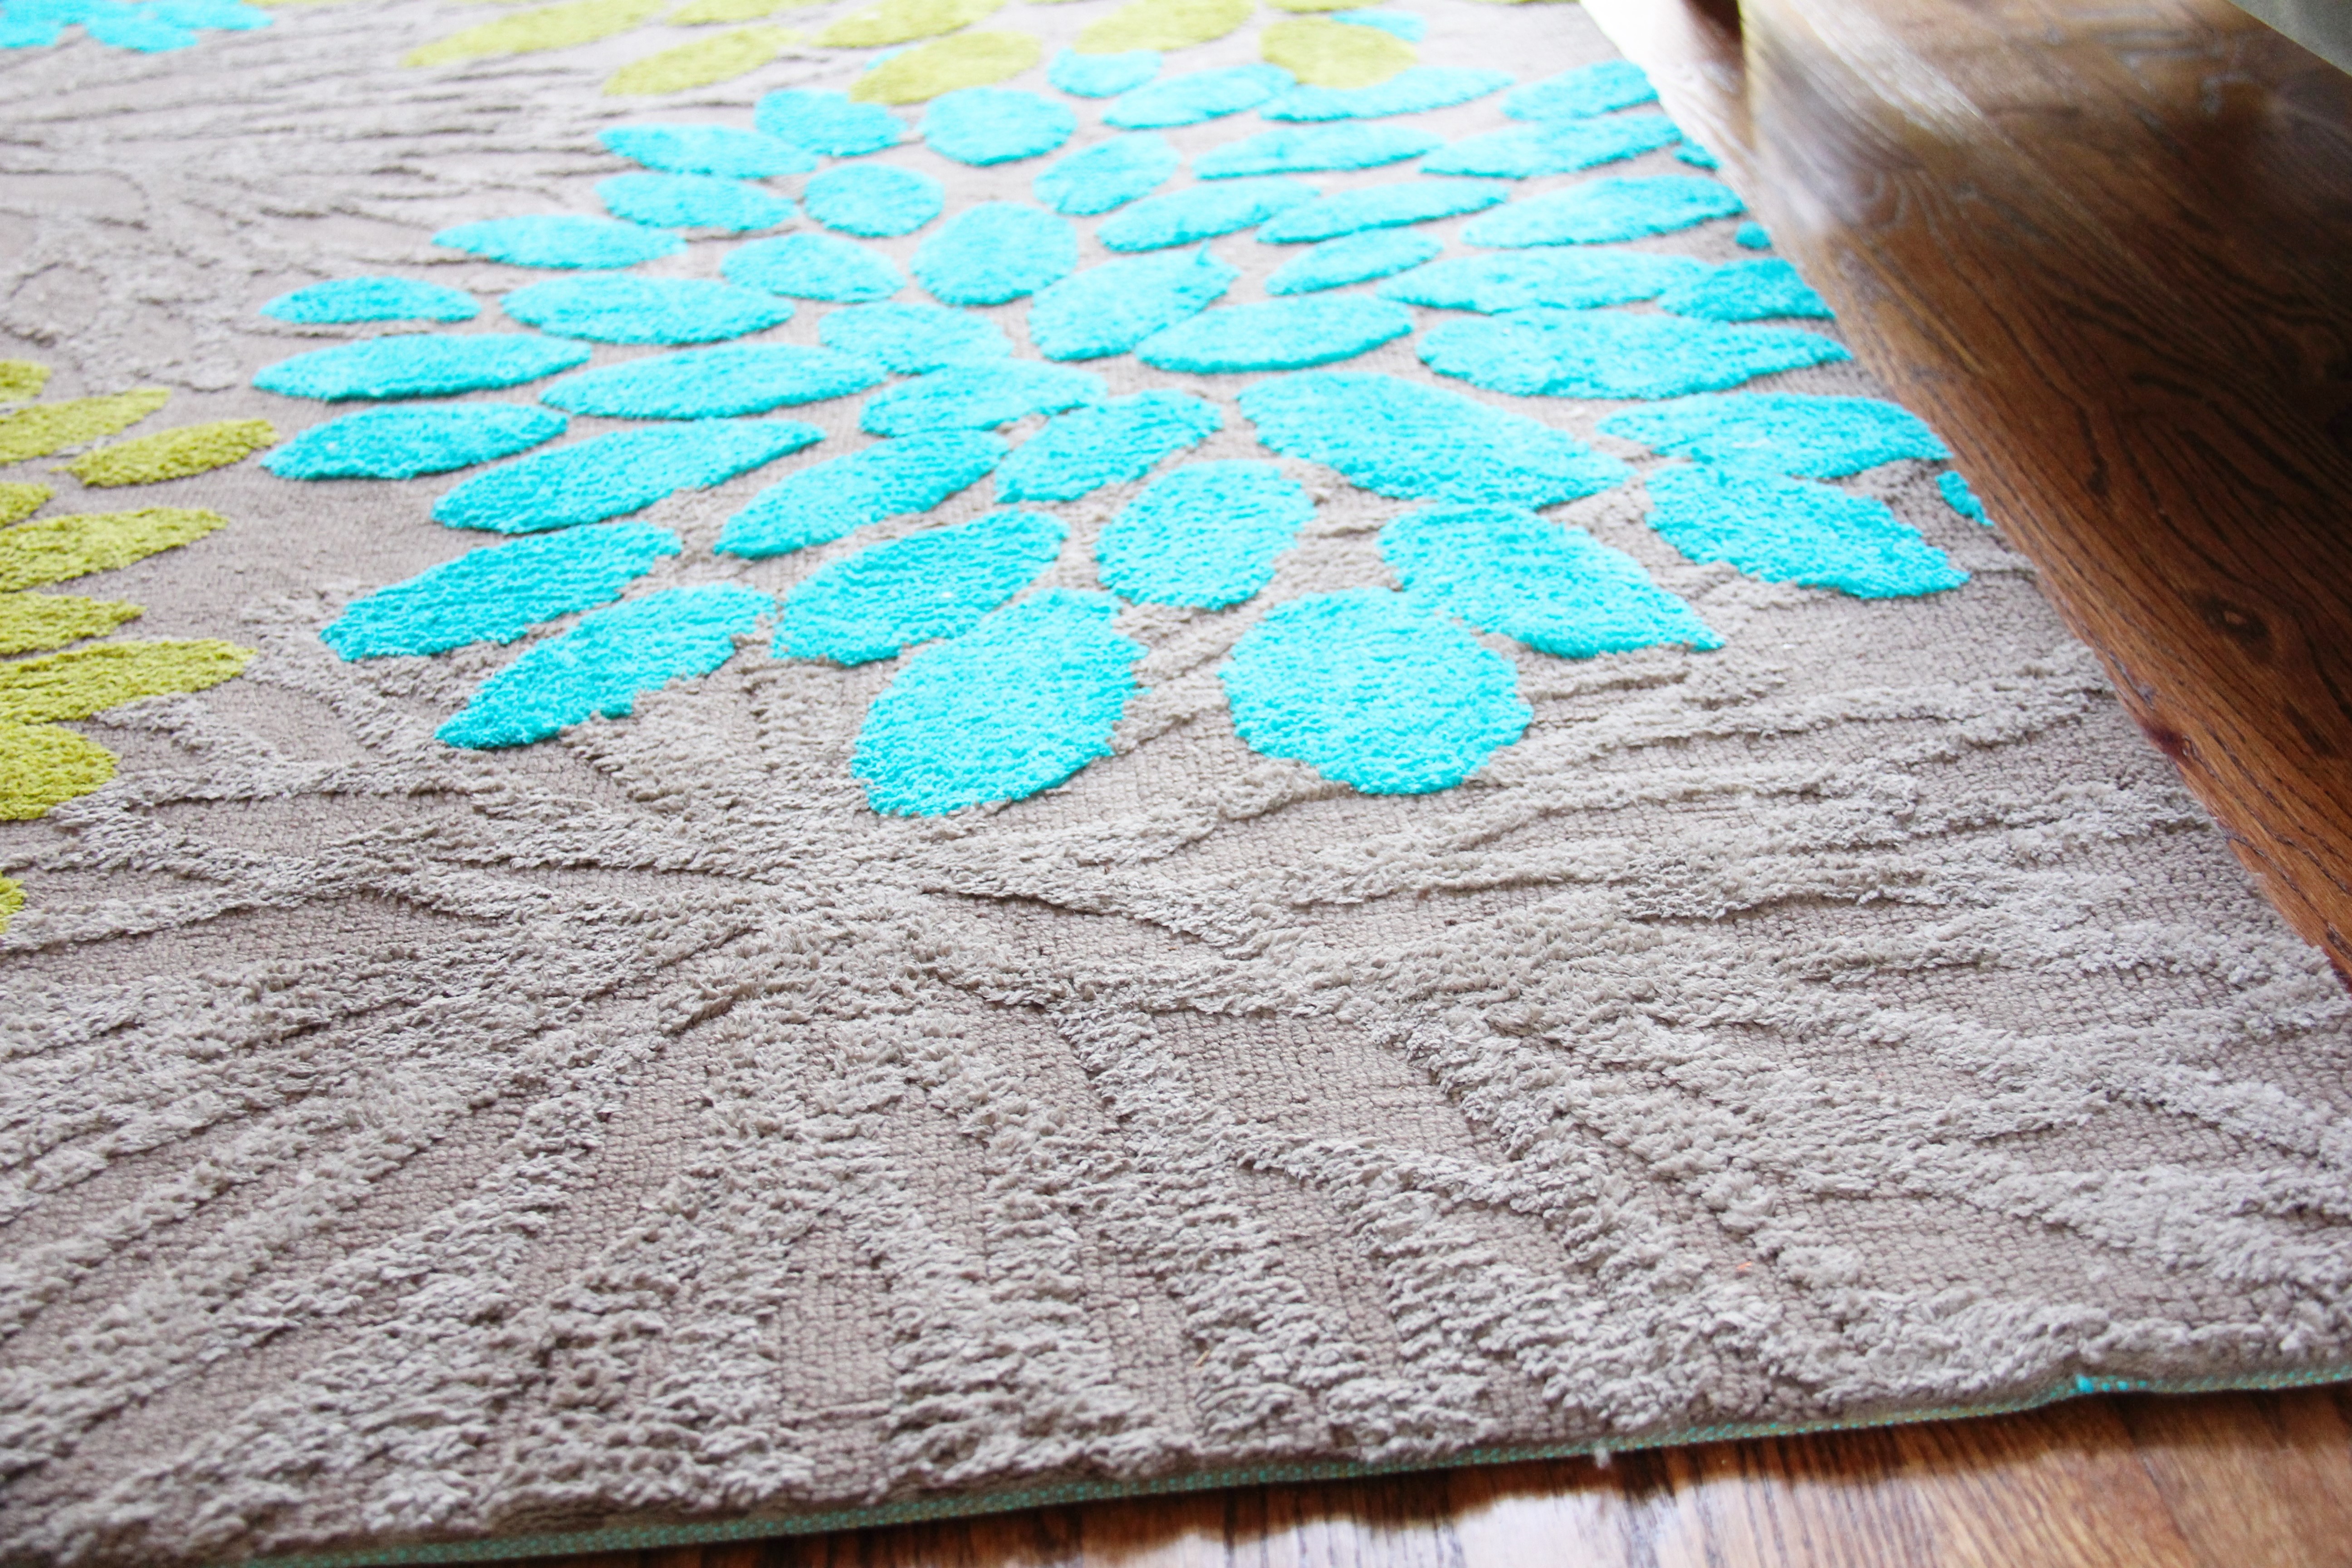
Ad major pops of color and personality with a vibrant rug
The big pop of color and the biggest personality of the room comes from the rugs. Aren’t they fun? I love that these rugs are more muted in the background but then have this bold citron green and vibrant turquoise. We ordered both a 5×8 and a 4×6 to unify the space.
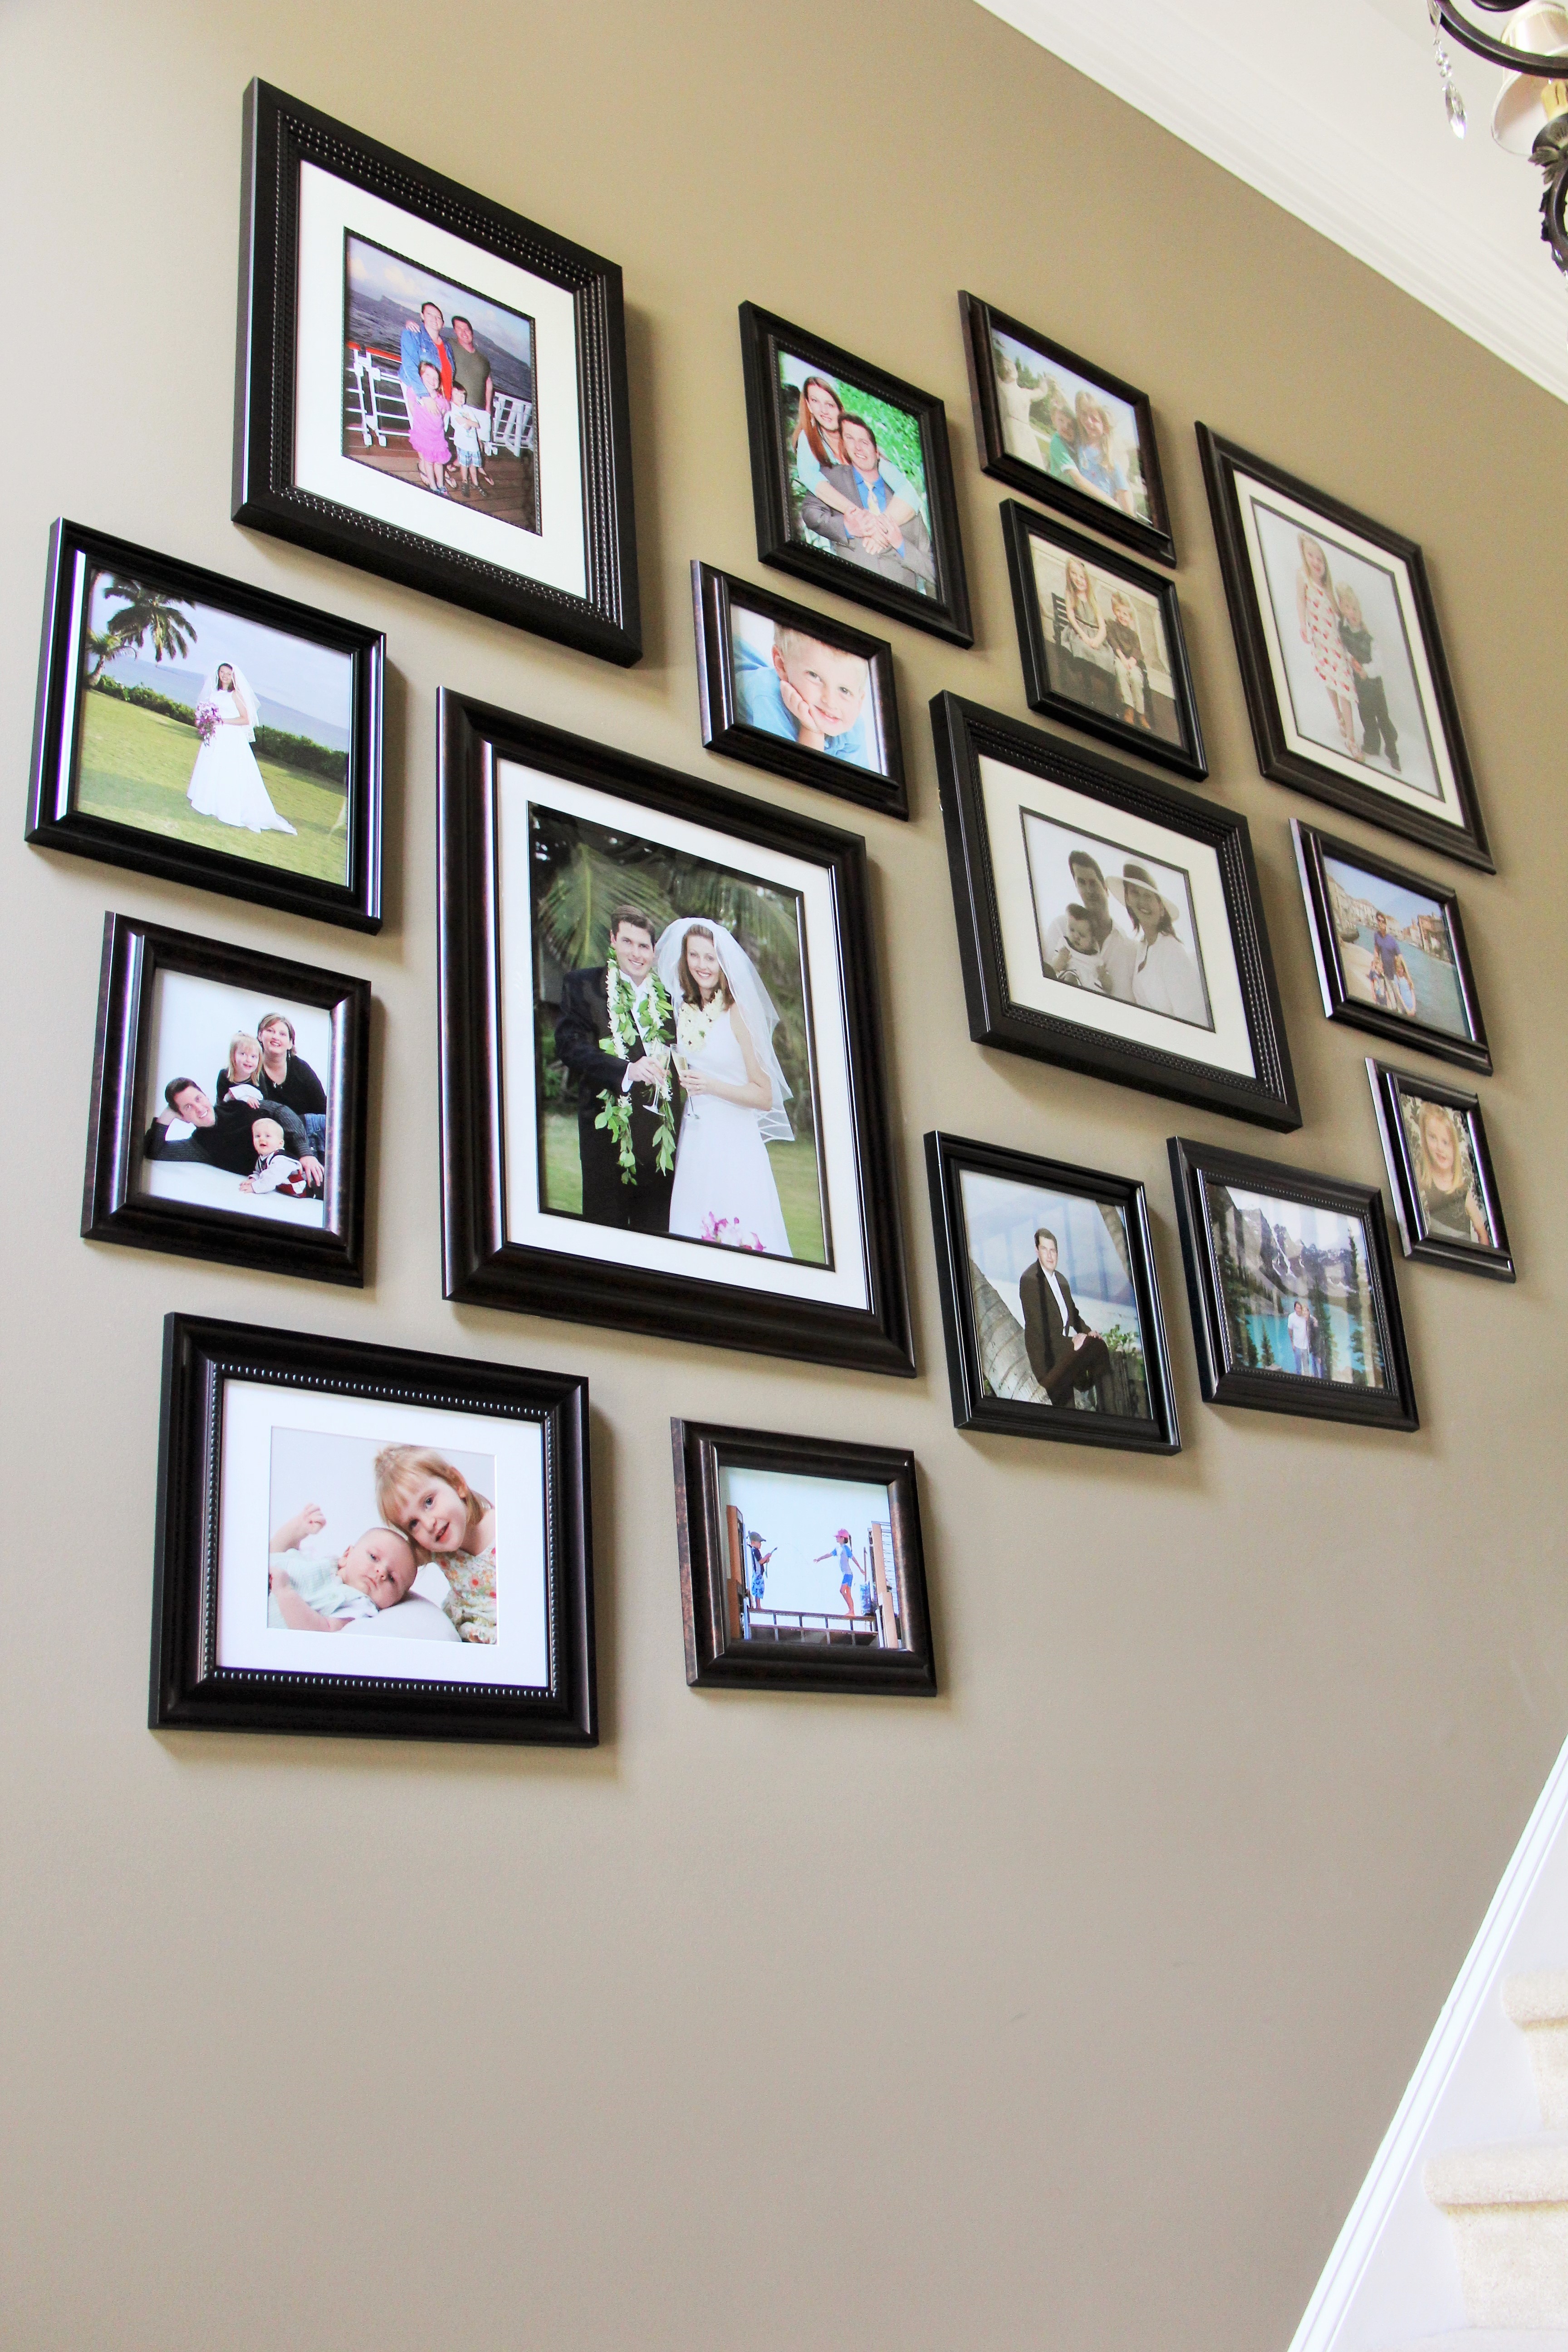
Start with biggest frames evenly spaced
Tell your family story with a picture wall
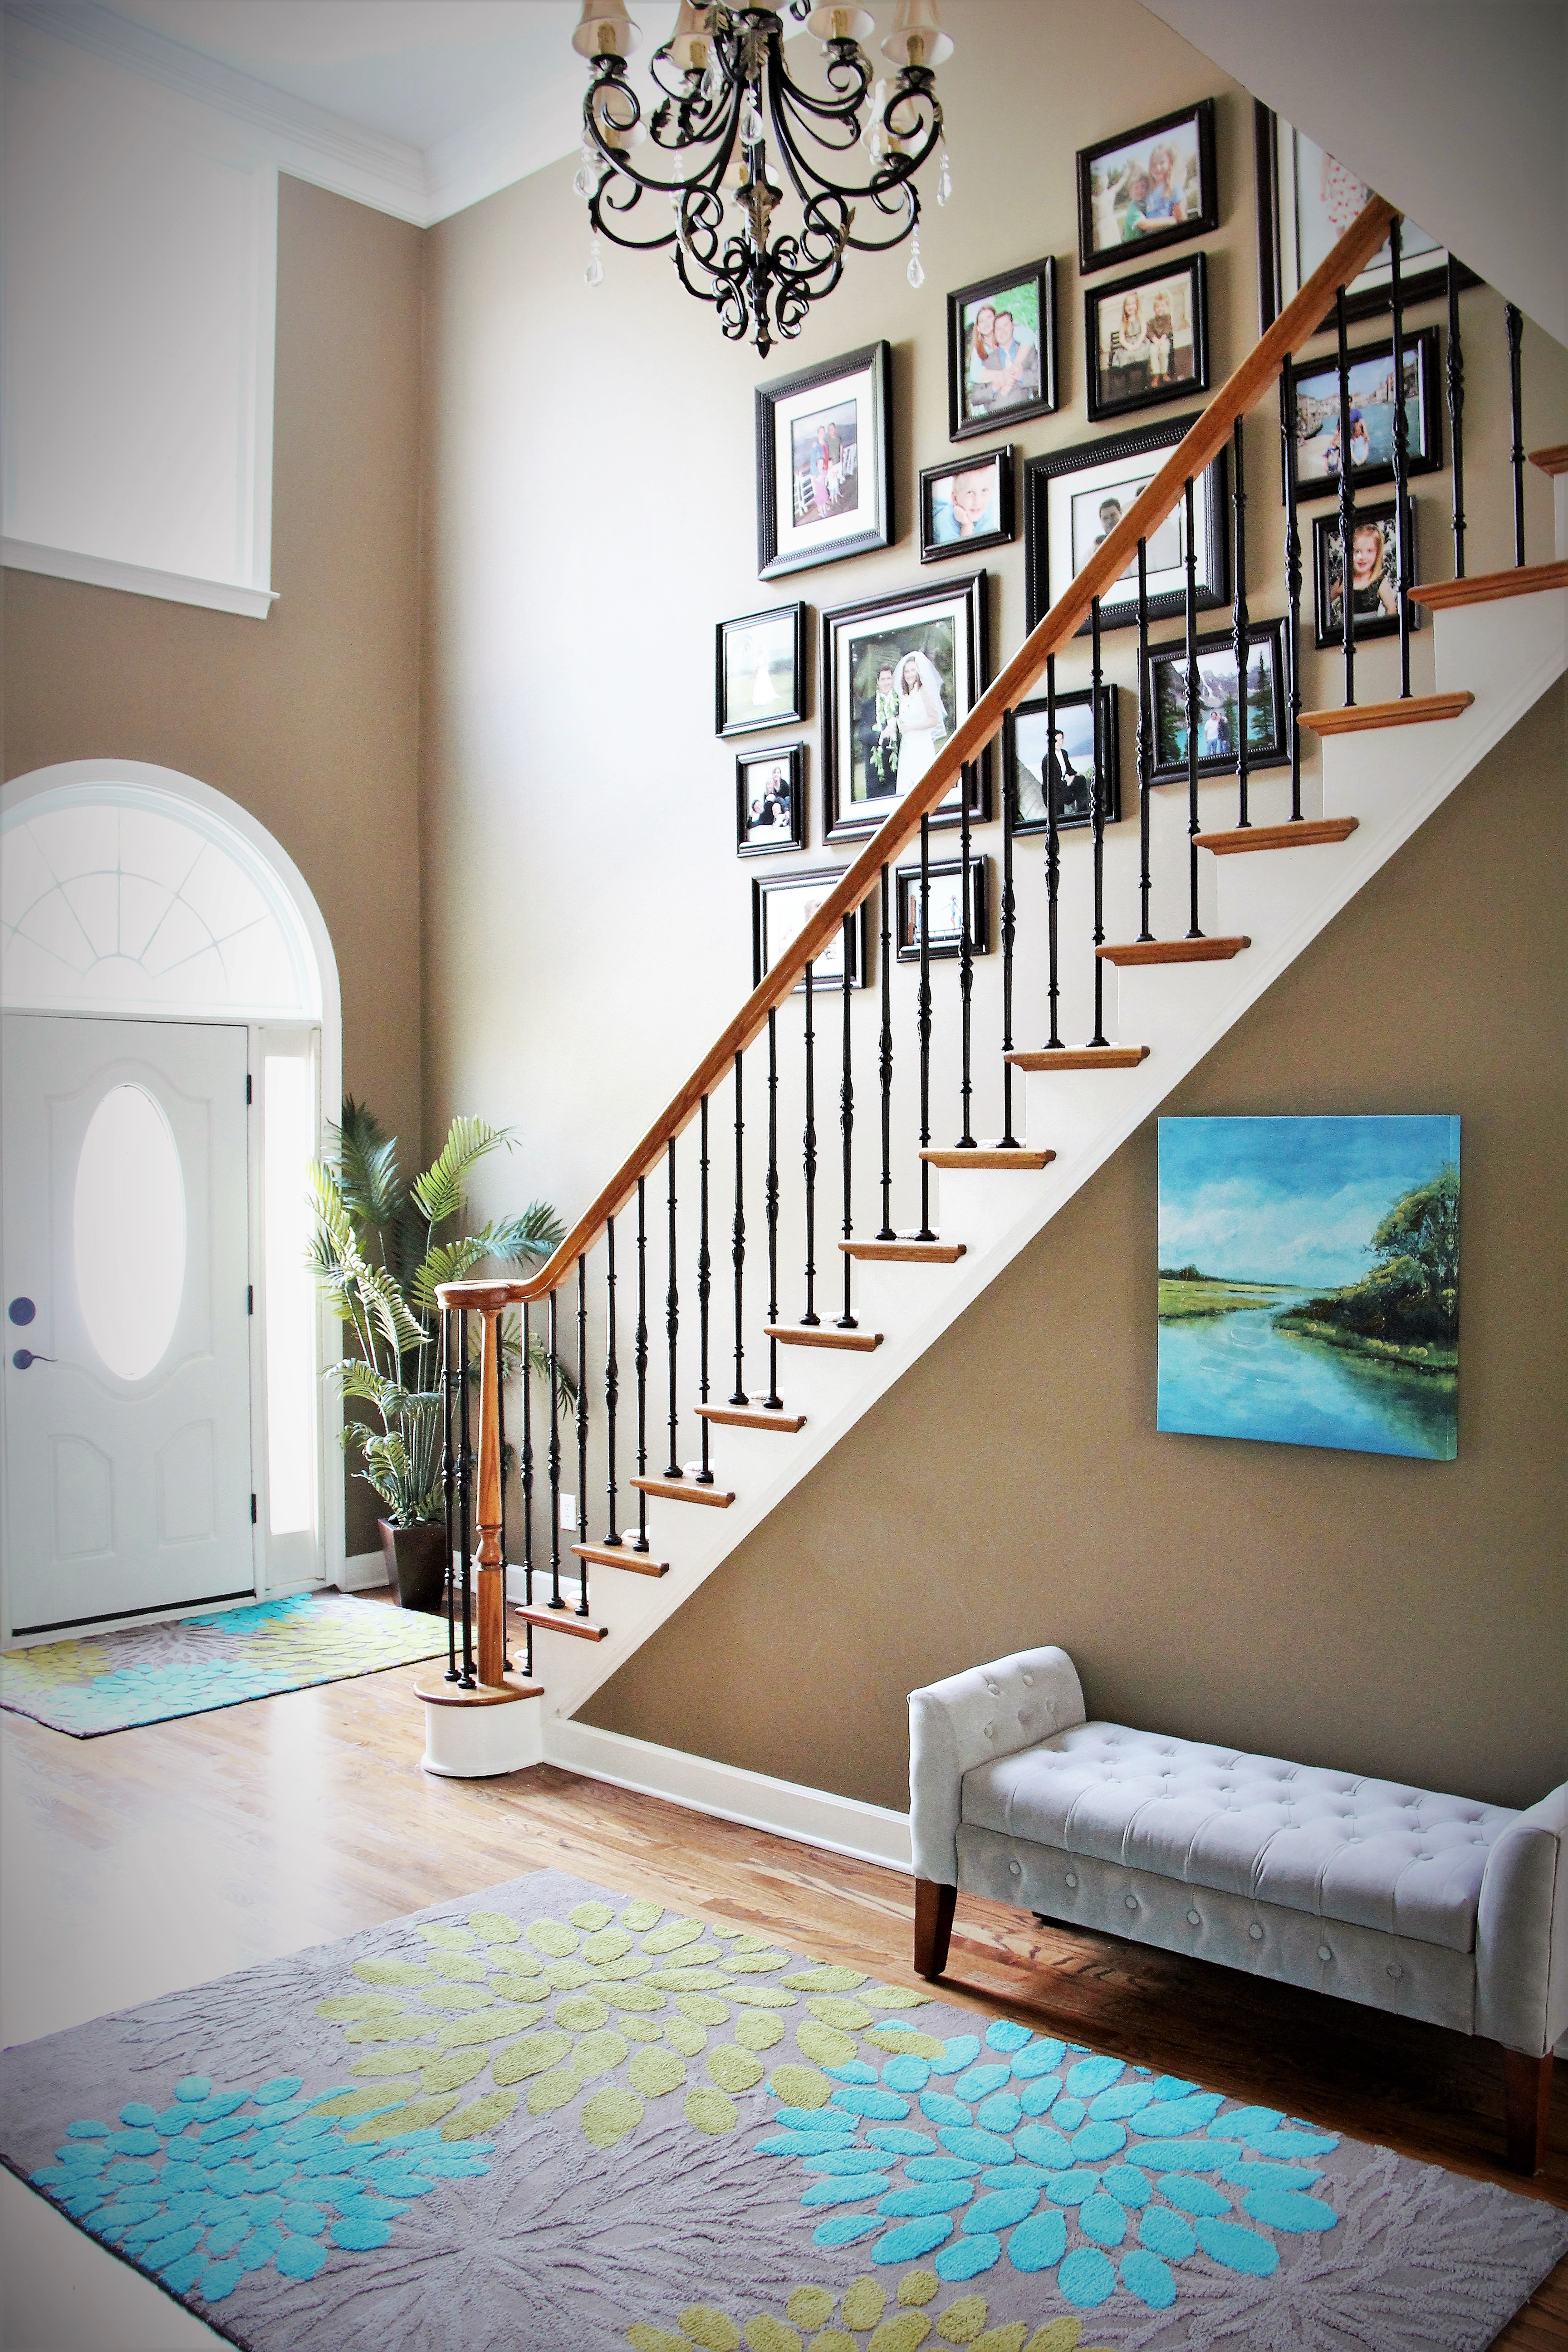
The collage brings interest up the stairs
Keep frames the same color
The stairs were bare but we were putting plenty of artwork around the foyer and the adjacent living room and we all have tons of family pics that need to be displayed. This family was no different. Once we decided that the frames would all be dark espresso colored, I ran to Michaels to get an assortment of styles and sizes.
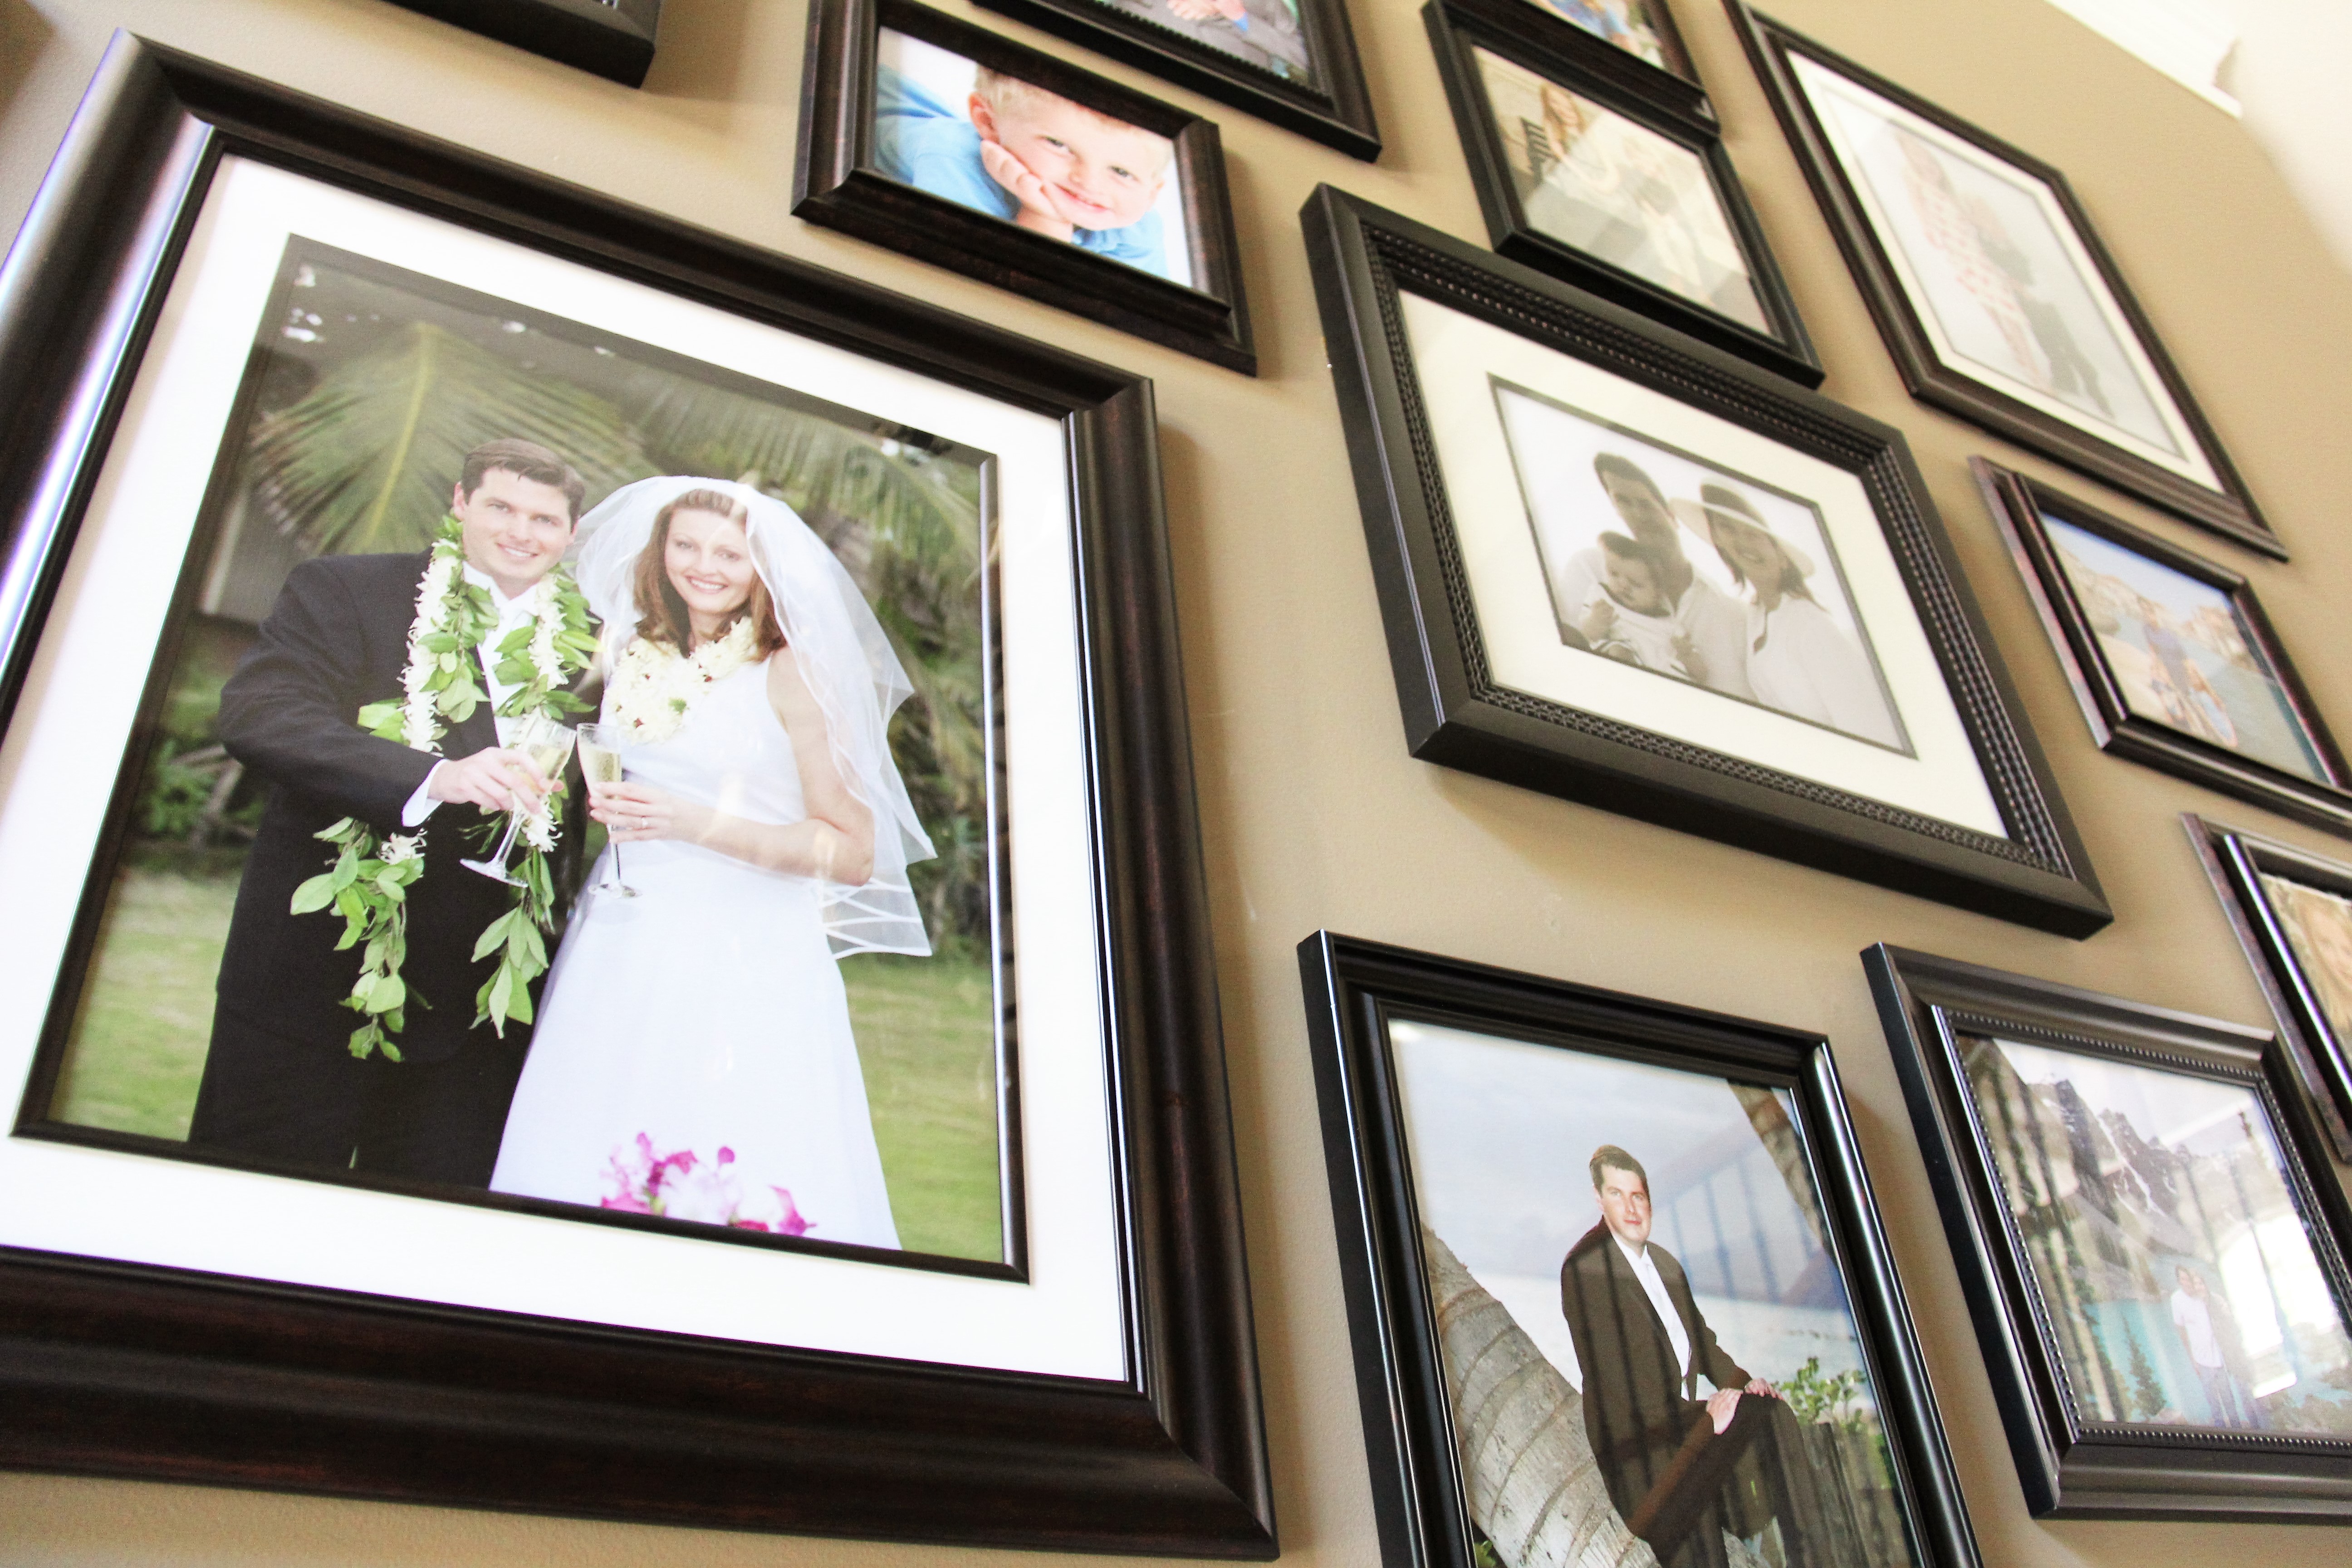
Here’s my WALL COLLAGE TIP LIST :
- Get a lot! More than you think you’ll use and return what you don’t use.
- Buy a big variety of sizes. You never know standing in the store what combo will work once you start hanging them.
- Keep the frame color the same but mix up the frame styles. Mix in at least 3-4 styles of frames.
- WAIT for a SALE! Wall frames are always going on sale! Always.
- Make sure you have some that are matted and some that aren’t, but keep the matting in same color (white is very different from ivory)
- DO NOT hang them with those silly picture hanging hooks if it will show from the top. Drives me CRAY-CRAY when I see that poking out from the top of pictures (May just be that I have the vertical advantage being 6’1″ but even Jesus shouldn’t see those damn hooks).
- If the frame has a saw tooth shaped hanger use a nail.
- If it has “pain-in-the-butt” small little triangle shaped (aka D-Ring) hangers, run a wire thru it and hang on a picture hook.
- Don’t space the pictures more than 2″-3″ apart. They are meant to appear as one collective piece. Too much spacing and it will look cluttered instead of cohesive.
Next up is the open space as you lead into the family room. There’s an angled wall under the stairs that needs a bench and some art. I pull a bench from Wayfair that is similar to the background color of the rug. We used the same rug in a larger size here too. (TIP: When designing a space, keep the rugs the same if they are close together and bold.) Then the art, a great little canvas we found at HomeGoods, has the same bold blues and beachy subject matter (it’s a marshland but same vibe, you feel me?).
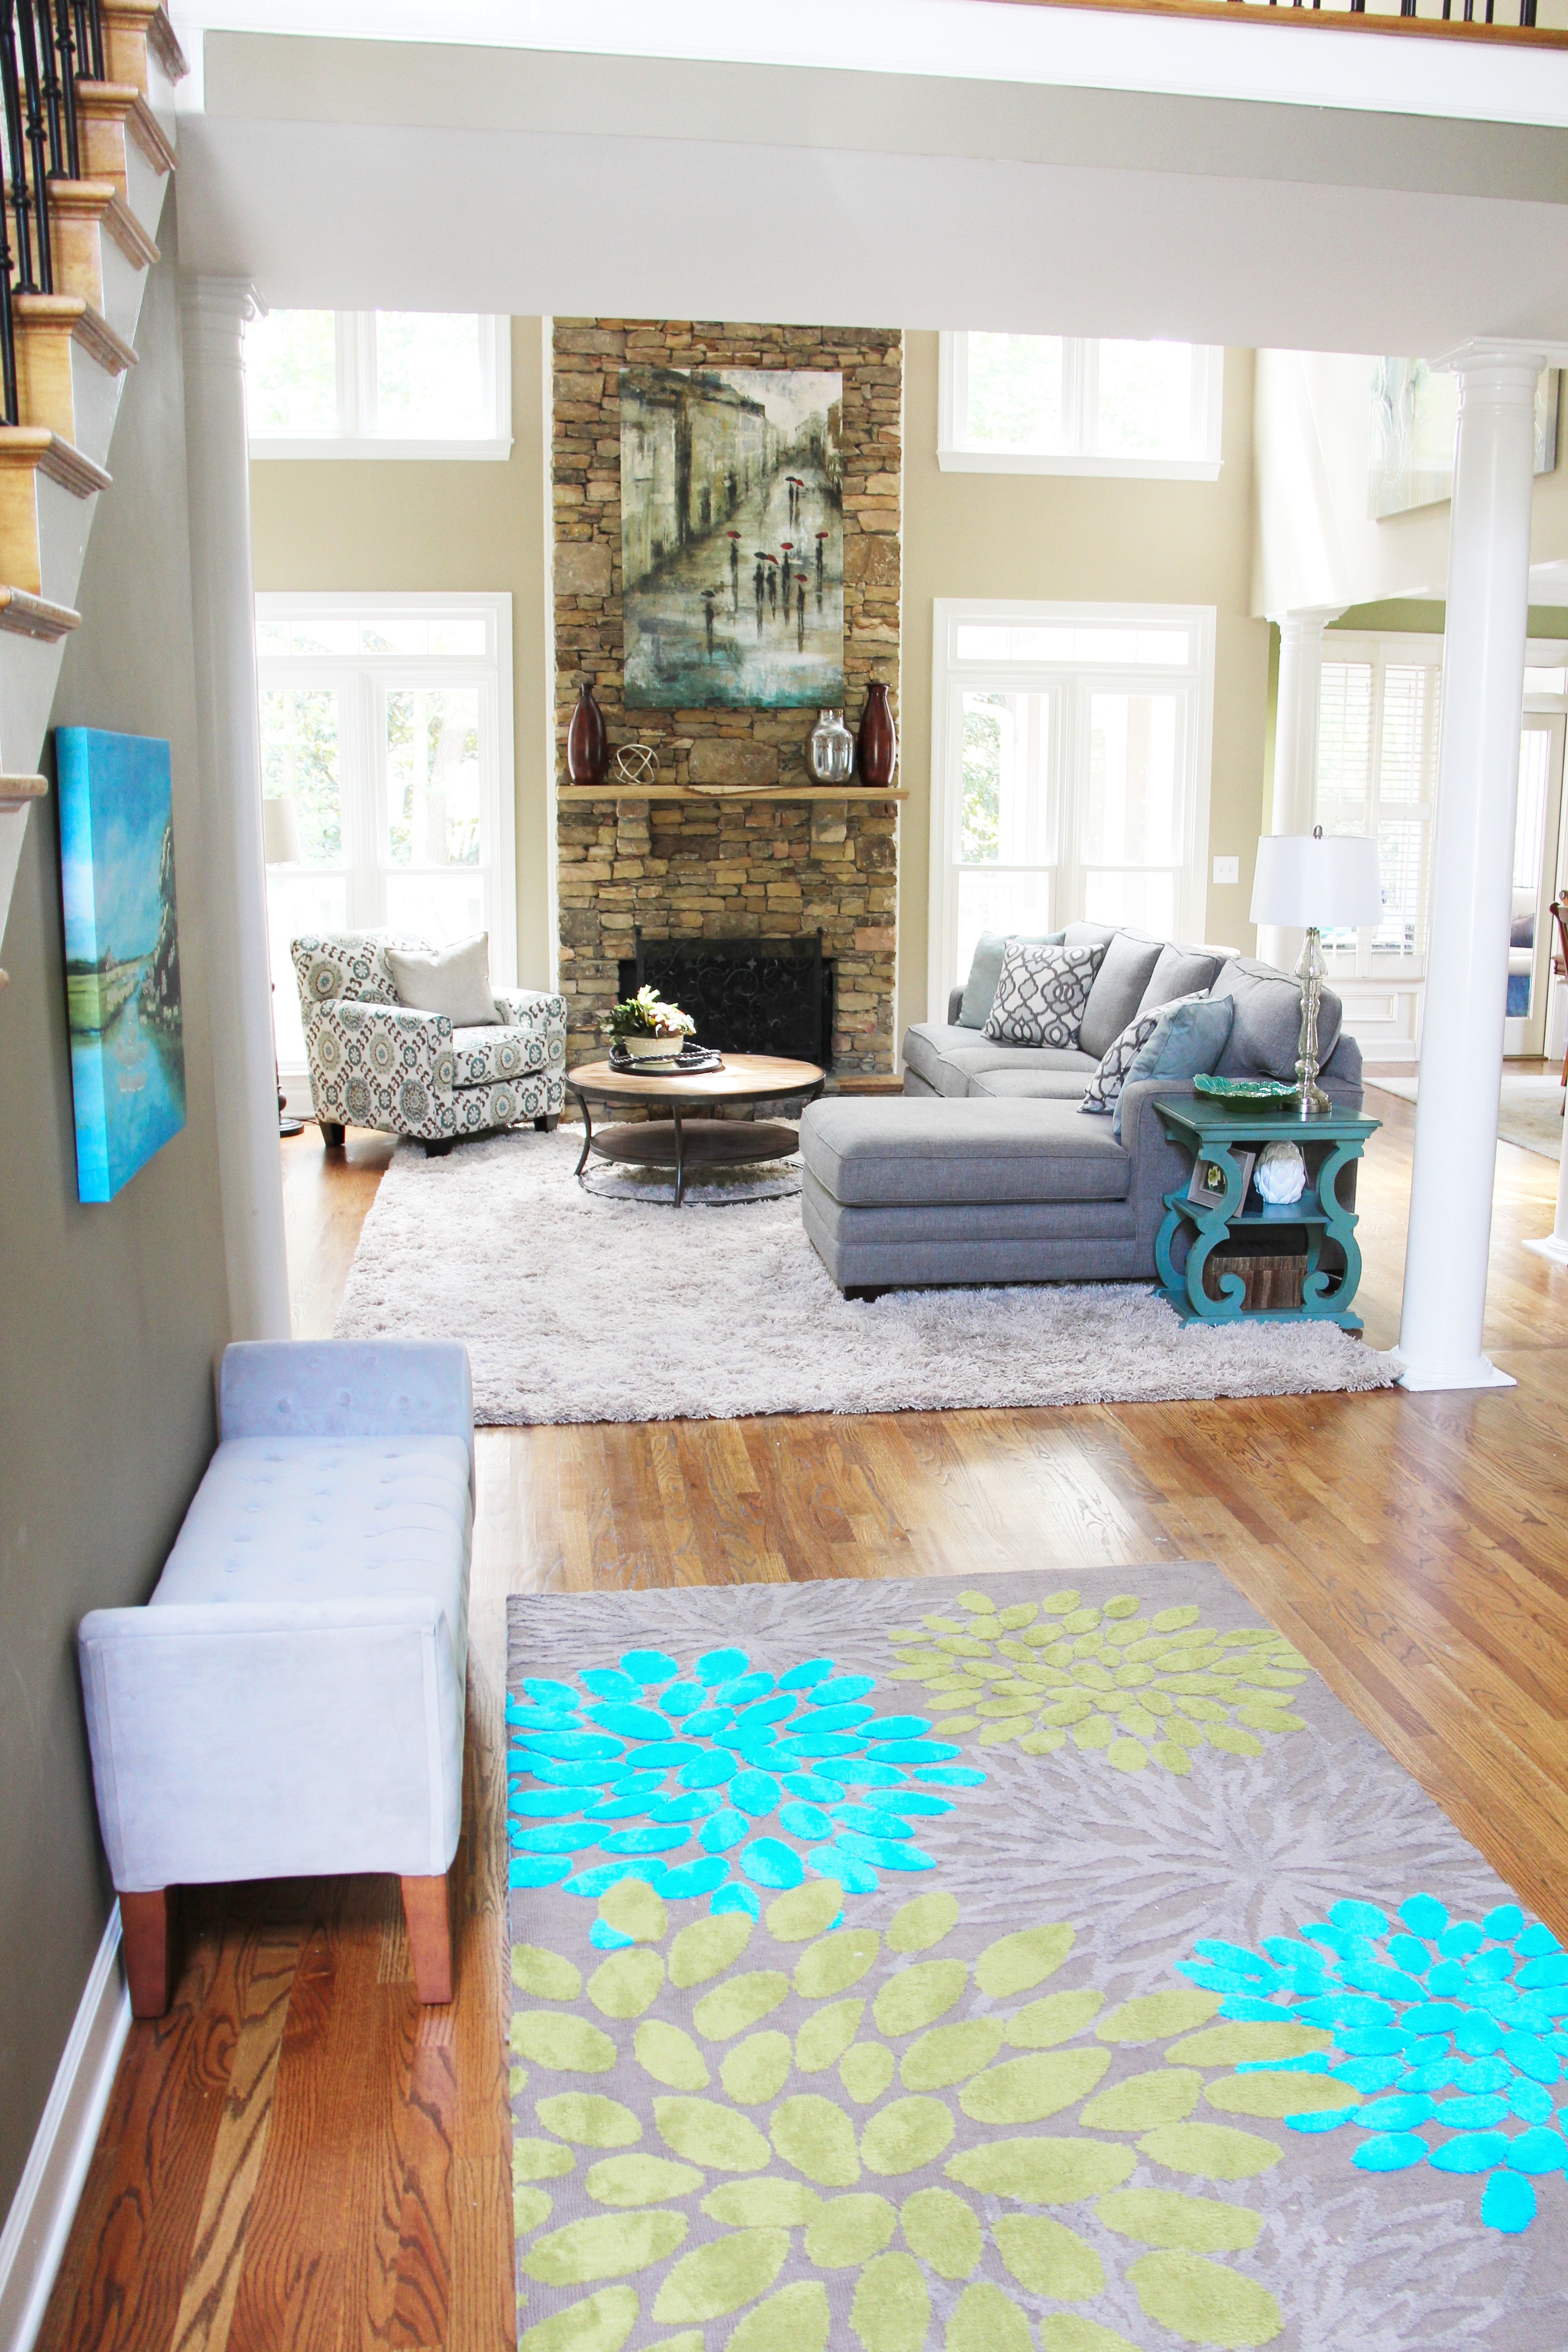
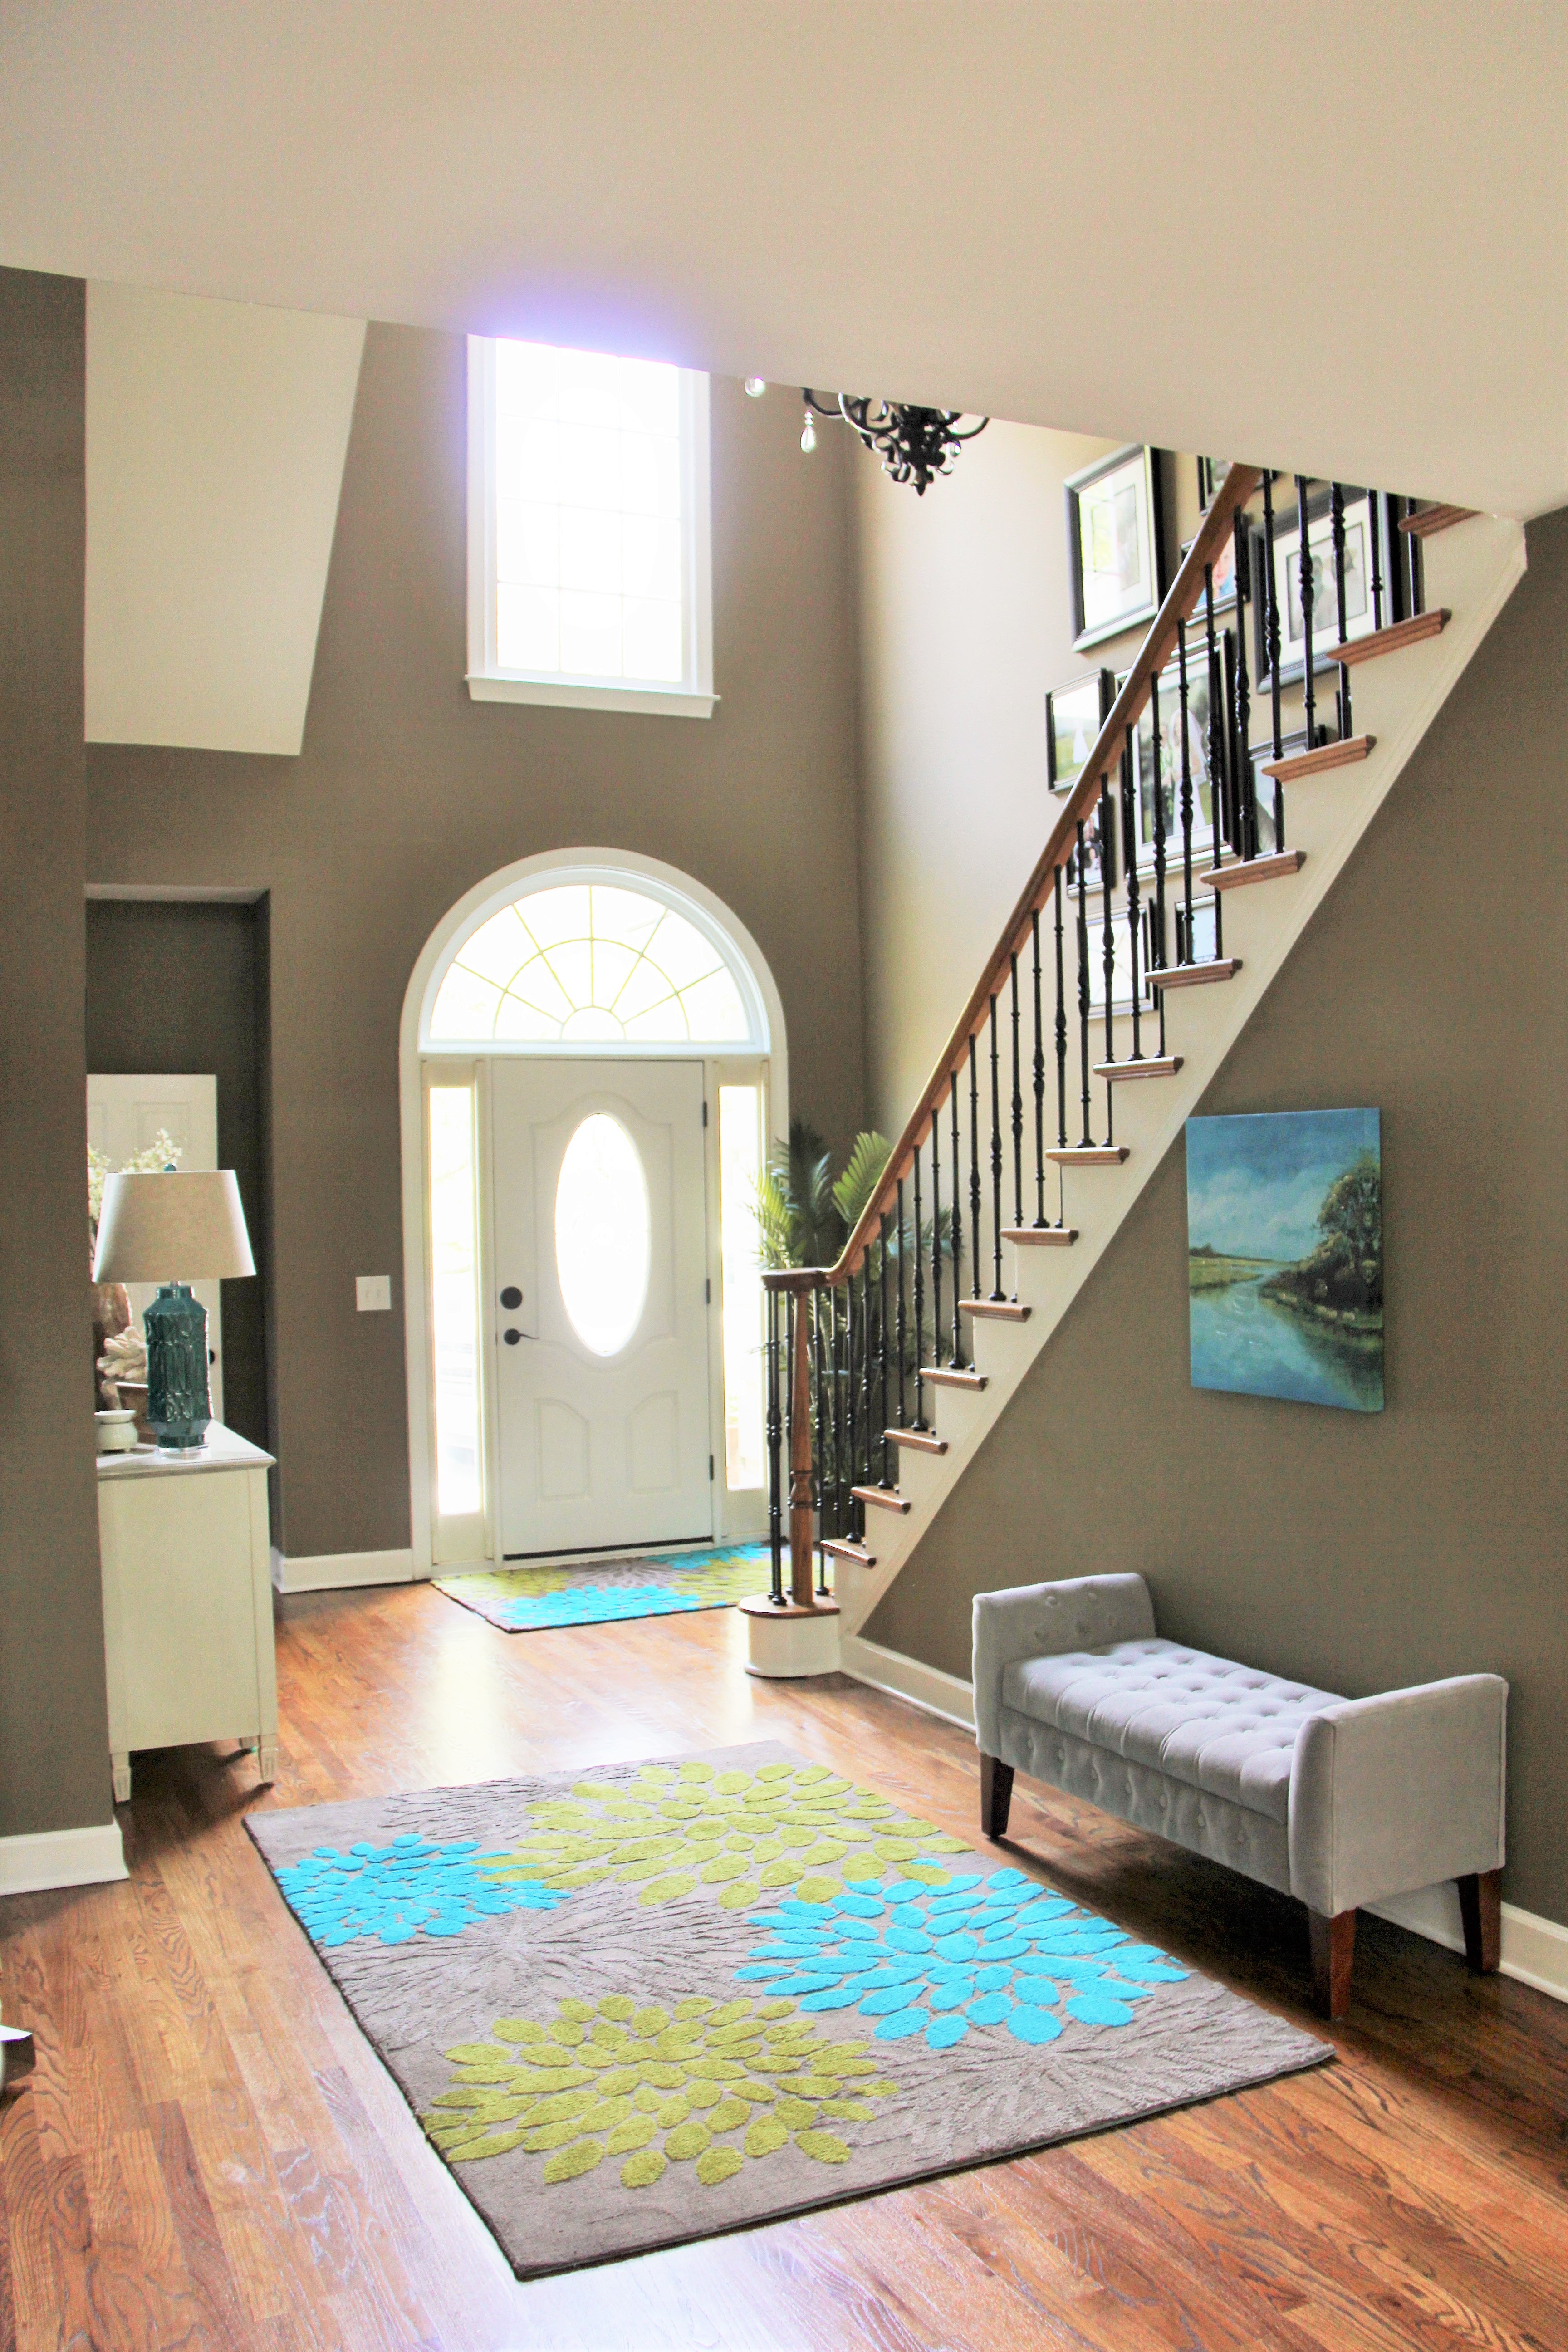


The foyer now feels like an actual room and not just somewhere to pass by on your way in and out of the house. Anyone would love welcoming friends and family in a space like this… just wait till you see the great room just past the foyer!
Pingback: Great Room Makeover - Sumptuous Living()